Writing Extensions in Eclipse
It’s very easy to import your connector into Eclipse and develop it. You must have the Maven tooling for Eclipse installed first. Follow the m2eclipse installation guide to install the Maven tooling.
Importing your project
-
Start Eclipse and set up a workspace for your cloud connector if you haven’t done that already. (Make sure your workspace does not have a space in the directory path)
-
In the workbench view, choose File > Import …
-
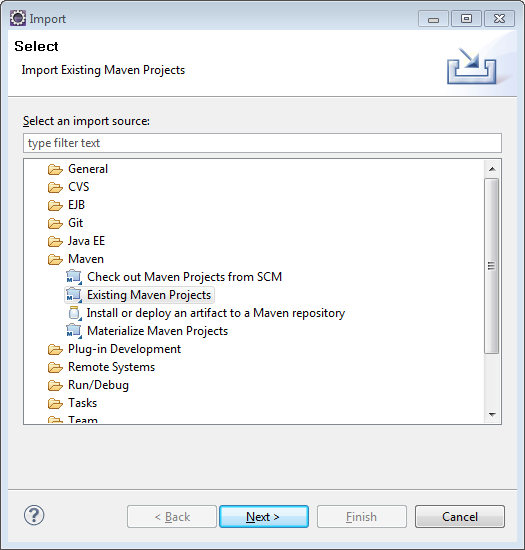
On the next dialog, select Existing Maven Projects from the Maven section.
-
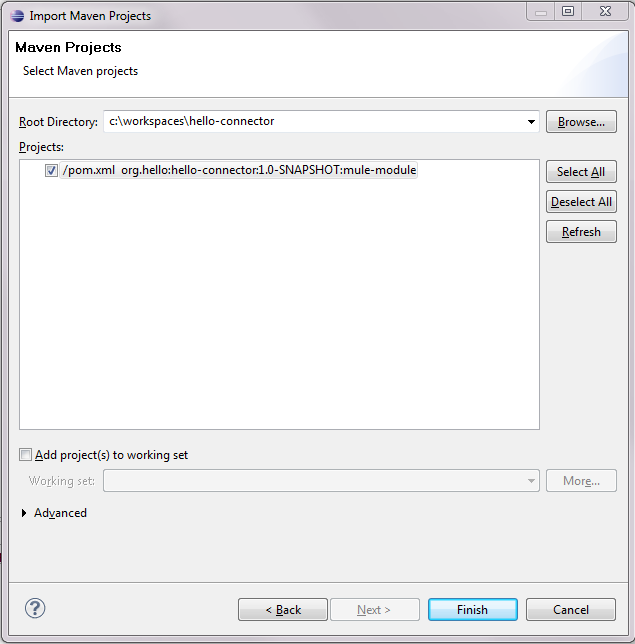
On the next dialog navigate to the new cloud connector project.
-
Click Finish to import the project into your workspace.
Building your project for the first time may take a long time since the Eclipse Maven integration will download all the required libraries from the internet. By the time the Maven tooling for Eclipse has finished building your project it should look like this:

Updating your project
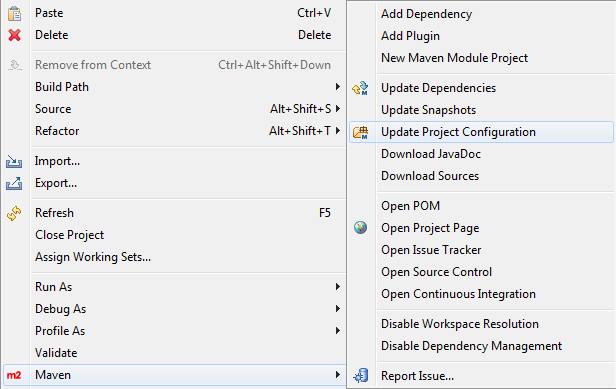
The Mule schema and namespace handler for your cloud connector are automatically generated by the Maven build. The Maven tooling for Eclipse, however, does not perform the full build every time you save the project. As a consequence you have to manually update your project every time you add or remove methods to your cloud connector class. Right-click on the cloud connector project and from the Maven submenu select Update Project Configuration.