Creating a Cluster
| Mule Runtime Engine versions 3.5, 3.6, and 3.7 reached End of Life on or before January 25, 2020. For more information, contact your Customer Success Manager to determine how you can migrate to the latest Mule version. |
After downloading the demo bundle and executing the six scripts, you can open the Mule Management Console to see Mule in action. We start by registering two Mule servers, or nodes, in the Mule Management Console, then we configure a cluster with two nodes.
Registering Servers
-
Open your browser, then go to http://localhost:8585/mmc and login to the management console using the following credentials:
-
Username:
admin -
Password:
admin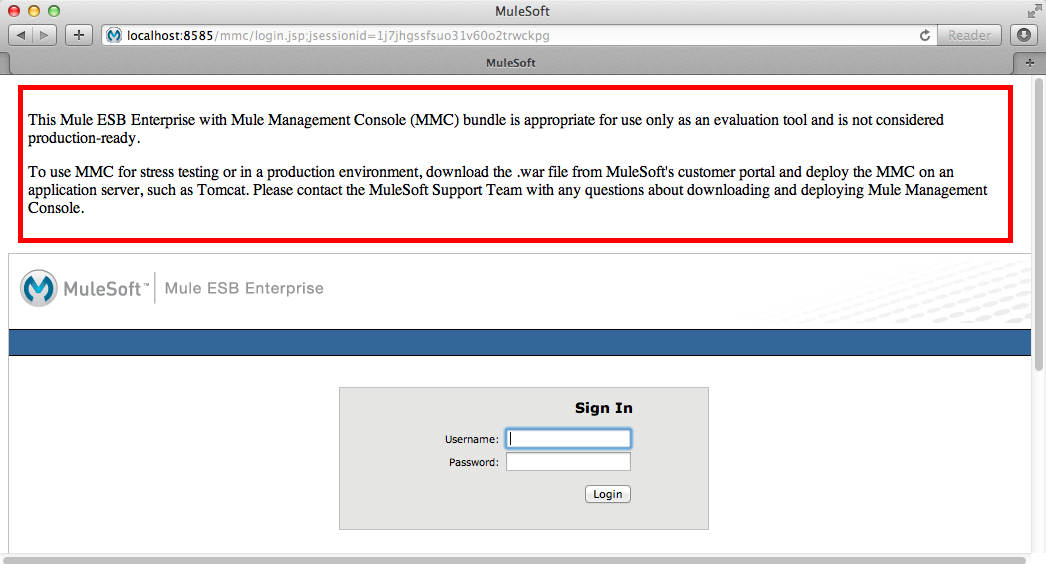
-
-
The management console displays a Mule ESB Enterprise - Quick Start screen; click the error symbol in the upper-right corner to close.
-
The management console presents the Dashboard tab by default; cick the Server tab.
-
Click Add, then select New Server.
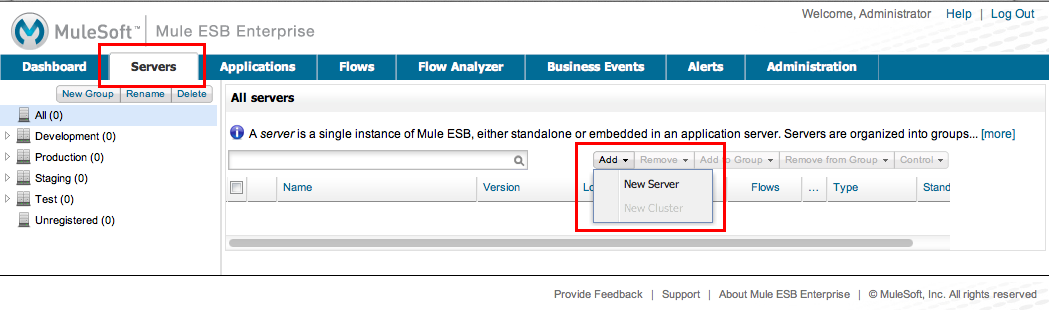
-
In the Server Name field on the Add Server screen, enter a unique name for the first server, such as
Server A. -
In the Mule Agent URL field, do not adjust the default value,
http://localhost:7777/mmc-support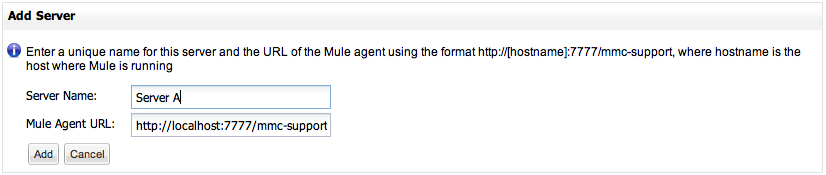
-
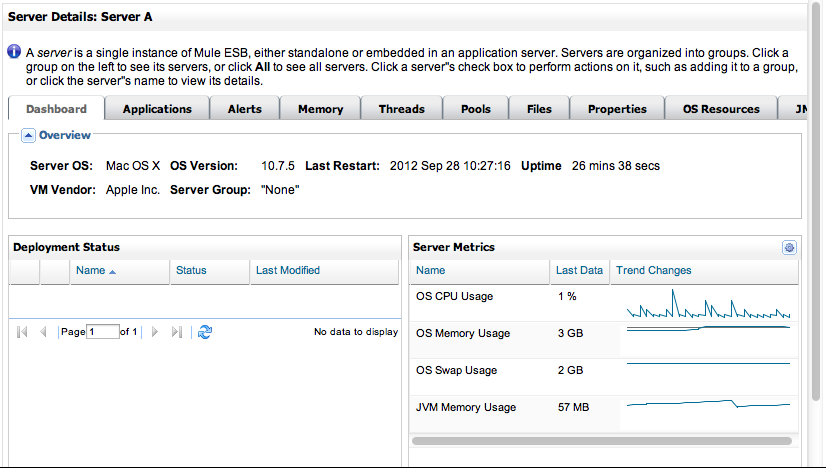
Click Add to register the first server. The management console displays the details of the newly-registered server.
-
Click All in the Package Explorer column at left to return to the main screen of the Server tab, then click Add, then select New Server again.
-
In the Server Name field on the Add Server screen, enter a unique name for the second server, such as
Server B. -
In the Mule Agent URL field, adjust the default value to the following:
-
Click Add to register the second server.
-
Click All in the Package Explorer column at left to return to the main screen of the Server tab. The management console displays the two newly-registered servers.
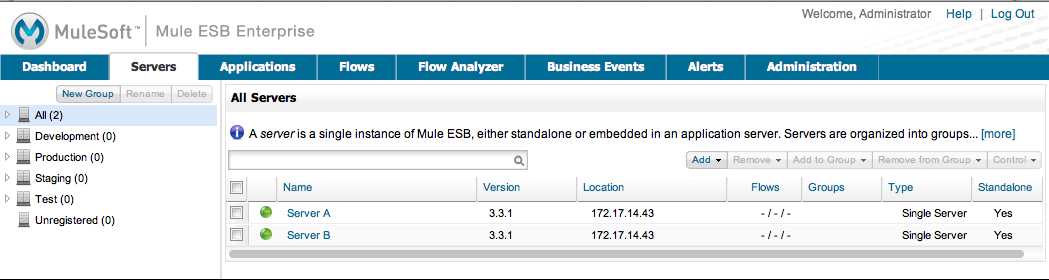
Creating a Cluster
-
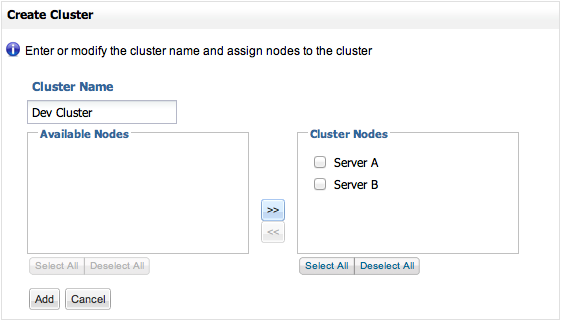
On the Servers tab in the management console, click Add, then select New Cluster.

-
In the Cluster Name field on the Create Cluster screen, enter a unique name for the cluster, such as
Dev Cluster. -
Click to select both servers in the Available Nodes pane, then click the >> button to move the selections to the Cluster Nodes pane.
-
Click Add to create the cluster. (Mule must restart the servers so this process may take a minute.)
-
Click All in the Package Explorer column at left to return to the main screen of the Server tab. The management console displays the new cluster as one “server”. You can now manage this cluster of servers as one.
