Lookup Tables
| Anypoint Partner Manager V1.0 was deprecated in March 2021. Its End of Life is March 31, 2022. Support for Anypoint Partner Manager 1.0 continues in accordance with the Product Support and Maintenance Terms but is not available for new customers or upgrades. For the latest version of Anypoint Partner Manager, contact your Customer Success Manager to determine how you can migrate to the current version. |
Anypoint Partner Manager (APM) enables you to create, populate and edit a lookup table. A lookup table is a table that facilitates transaction processing by associating values. For example, this page shows how to create a lookup table that associates internal partner product codes with customer product codes.
Get Started
These settings are editable for your company (as identified on the Partner Configuration Page) only.
-
Start APM. When the Transaction Monitoring Page appears, return to this page and procede to the next step.
-
In the left-hand navigation pane, click Administration. The Administration Page appears.
-
If you want to create a lookup table or edit the name, fields or keys for an existing table, go to Administer a Lookup Table. The fields you add will become the columns of the table.
If you want to enter data for a table, go to Working with Lookup Table Data. The data that you add for each field will populate the rows of the field.
Administer a Lookup Table
-
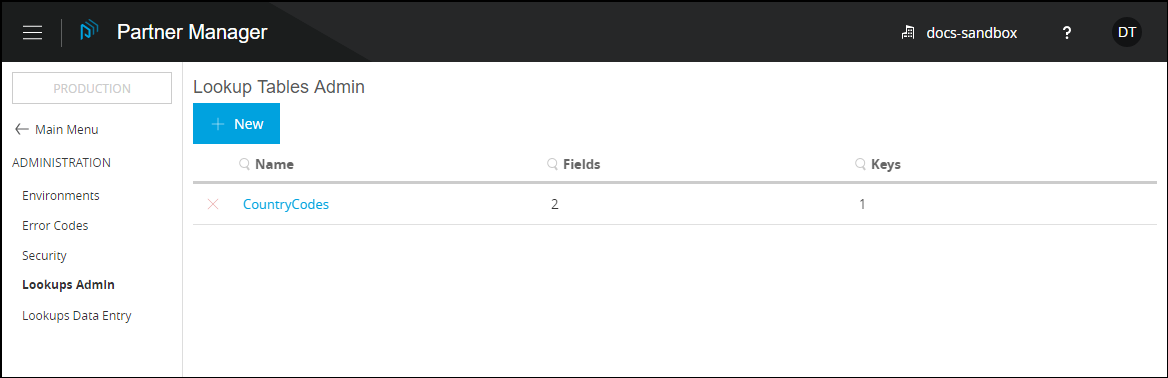
In the ADMINISTRATION section of the left-hand navigation pane on the Company Information Page, click Lookup Tables Admin.
The Lookup Tables Admin Page appears.
-
You can now:
Create a Lookup Table
This section shows you how to use the APM user interface to create a lookup table. Alternatively, you can create a lookup table through calls to the Anypoint Partner Manager API; see Create a Lookup Table. See Create a Lookup Table also for instructions for querying a table.
To Create a Lookup Table
-
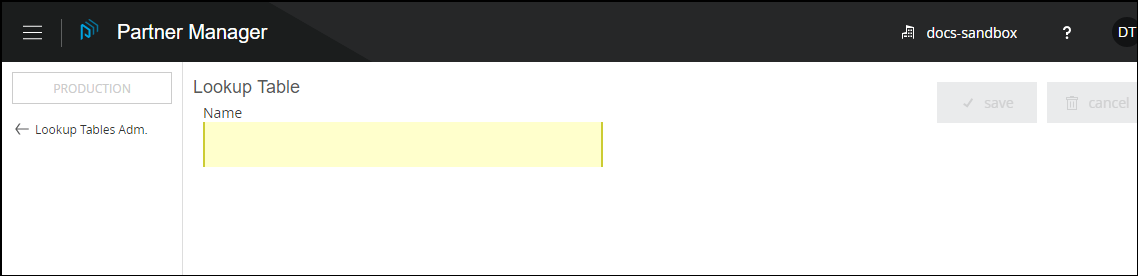
On the Lookup Tables Admin Page, click New. The Lookup Table Page appears.
-
On the Lookup Table Page, in the Name box, enter a name for this lookup table, then click Save.
The Add Field and Add Key bars appear.
Because a lookup table must have at least one field before you can add a key to it, go to Add a Field.
Administer an Existing Lookup Table
-
On the Lookup Tables Admin Page, click the table with which you want to work.
The Lookup Table Page for the table appears.
You can now:
Add a Field
-
On the Lookup Tables Admin Page, click the table with which you want to work.
The Lookup Table Page for the table appears.
-
Click Add Field.
The Add Lookup Table Field box appears; enter a name for a field you want to add, then click Save Field.
The Add Lookup Table Field box closes.
The Lookup Table Page displays the key or keys you have added. The new field name appears in the Name column of the table.
To add another field, repeat this step.
To add a key, go to Add a Key.
Add a Key
-
On the Lookup Tables Admin Page, click the table with which you want to work.
The Lookup Table Page for the table appears.
-
Click Add Key.
The Add Lookup Table Key box appears.
-
In the Key Name box, enter a name for the key you want to add.
-
In the Field dropdown listbox, click the down-arrowheadhead.
Any fields added for this table appear.
-
Click a field that you want to be part of a key, then click Add Field To Key.
-
Repeat the previous step to add another key. When the key is complete, click Save Key
The Add Lookup Table Key box closes.
The Lookup Table Page displays the key or keys you have added.
Working with Lookup Table Data
-
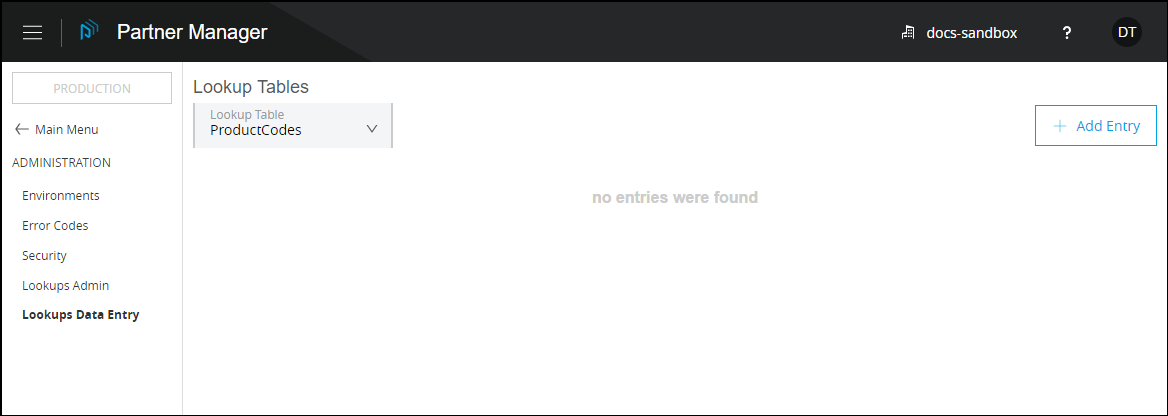
In the ADMINISTRATION section of the left-hand navigation pane on the Company Information Page, click Lookup Tables Data Entry.
The Lookup Tables Data Entry Page appears.
-
In the Lookup Tables dropdown listbox, click the down-arrowhead, then click the table for which you want to add or edit data.
Add Data
-
Perform the steps in Working with Lookup Table Data to select the table with which you want to work.
-
On the Lookup Tables Data Entry Page, click Add Entry.
The Add Lookup Table Entry box appears.
-
In the field boxes, enter data that corresponds to table fields. When you have entered a set of data, click Add Lookup Table Entry.
The Add Lookup Table Entry box closes.
The Lookup Tables Data Entry Page displays the data you have added as a new row. To add another row, repeat the preceding steps.
Duplicate, Edit, or Delete Data
-
Perform the steps in Working with Lookup Table Data to select the table with which you want to work.
-
On the Lookup Tables Data Entry Page, identify the row with which you want to work.
To duplicate the row, click the Duplicate icon (the leftmost of the three icons at the right end of the row.)
To edit the row, click the Edit icon (the middle of the three icons.)
To delete the row, click X (the rightmost of the three icons.) .