Installing Multiple Tcat Instances on a Single Machine
| Tcat Server reached its End of Life in 2017. Contact your Customer Success Manager to determine options for managing, monitoring, or deploying your application. |
This procedure enables you to run multiple instances of Tcat Server on a single machine, using one instance of the Tcat Administration Console (or more) to manage multiple instances of Tcat Server, each running within their own JVM.
Install Tcat Server with Administration Console
This process explains how to install multiple Tcat Server instances on one machine, then use the Administration Console to manage, monitor, and deploy servers and applications.
Before You Begin
For this procedure, you need a working installation of Java JDK or JRE 1.5 or newer (JDK is preferred as it provides additional utilities).
Ensure that the JAVA_HOME environment variable is set correctly.
Download the Tcat Server installer for Windows (.exe), Linux (.sh), Solaris (.sh), and MacOS (.dmg) from https://www.mulesoft.com/tcat/download.
Install Additional Tcat Servers
In this step, run the installer again, selecting Custom and determining the ports for HTTP, HTTPS redirect, Tcat Server Shutdown and AJP connector port.
Run the Tcat Installer with Options
Perform the following steps for each additional instance you want to have locally installed.

-
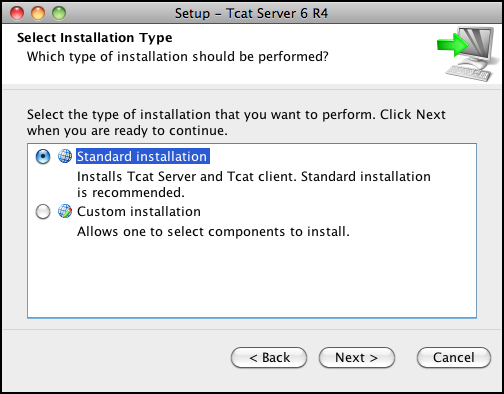
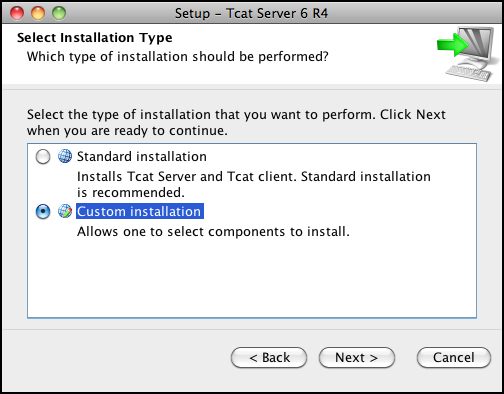
Run the installer. At Select Installation Type, choose Custom Installation.
-
At the next window, deselect Administration Console from the list.
-
At the Port Settings page, enter unique port numbers according to the following table:
| Make sure that you only use the following settings for a single instance. Every other instance must use a different port assignment for each setting. |
| Port | Default |
|---|---|
HTTP/1.1 |
8080 |
redirectPort |
8443 |
Server SHUTDOWN |
8005 |
AJP/1.3 Connector |
8009 |
securePort |
51443 |
Startup Tcat Server instances
Start all the Tcat Server instances. (The server with the Administration Console should already be running.)
| Windows | Linux | Solaris | OS X |
|---|---|---|---|
bin/tcat6 start |
|
sudo svcadm enable tcat6 |
catalina.sh start |
|
Login, Register, and Manage Tcat Servers
NOTE: If you are connected to your network via a virtual private network (VPN), disconnect before running Tcat Server. After you have registered all your Tcat Server instances, you can connect to your VPN again.
Log in to Administration Console
-
After a minute or two, open a Web browser to the following address: http://localhost:8080/console
-
Log in using "admin" for both username and password
-
The Tcat Server console appears, with the Servers tab selected by default
Register Servers
-
In the left panel, click Unregistered
-
The local Tcat Server instance appears to the right
-
Click the checkbox next to Server Name
-
Click Register
-
The local server instance now appears in the All group with a green status indicator
Repeat for each Tcat Server instance you installed.
Manage Servers
-
Click the All list in the left panel
-
Click on Server Name
-
The Server Details panel appears
-
Click through the tabs to view the information and operations available
-
Click on Server Summary to verify secure port numbers are distinct

Rename Servers
-
From the Servers tab in the Administration Console, click on one Tcat Server instance
-
The Server Summary appears
-
Click Edit Server Info
-
Enter a unique name in Server Name
-
Click Save
-
The new server name appears immediately in the list of Servers
Rules About the securePort Setting
-
Any port number from 1 to 65535 if the Tomcat JVM runs as root. Any number from 1024 to 65535 if the Tomcat JVM runs as a user other than root.
-
Must not conflict with any of the other TCP ports being used by Tomcat and/or webapps running in the same JVM that have opened server sockets.
NOTE: On non-Windows OSs, ports 1-1023 inclusive are "privileged ports" and require root privileges to bind to them. Those are the only special port numbers, and only on non-Windows OSs.


