Workday Connector 14.0 Examples - Mule 4
Anypoint Connector for Workday (Workday Connector) provides two financial management services examples that enable you to see how to configure Workday Connector using Anypoint Studio and Anypoint Design Center’s Flow Designer:
Add a Fund to the Workday Financial Management Service (Studio Example)
This example uses the Invoke operation to insert a fund in the Workday financial management service.
Configure HTTP Listener
Configure HTTP Listener to initiate a Mule flow when a call is made to the / account path on localhost, port 8081.
This example uses variables for some field values. You can either:
-
Replace the variables with their values in the code.
-
Provide the values for each variable in a properties file and then refer to that file from the connector configuration.
If you don’t know how to use a properties file, see Configuring Property Placeholders.
To configure HTTP Listener:
-
Create a new Mule project in Studio.
-
In the Mule Palette view, search for
httpand select the Listener operation:Select the Listener operation in the Mule Palette view.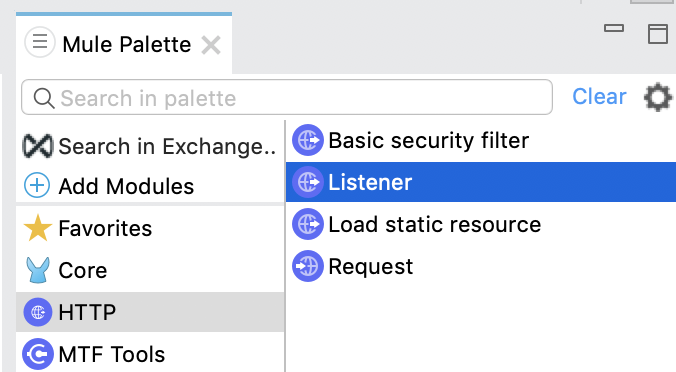
-
Drag the Listener operation onto the canvas.
-
In the Listener configuration, click + next to the Connector configuration field to add a global element.
-
Click OK to accept the defaults.
-
Set the Path field to
/: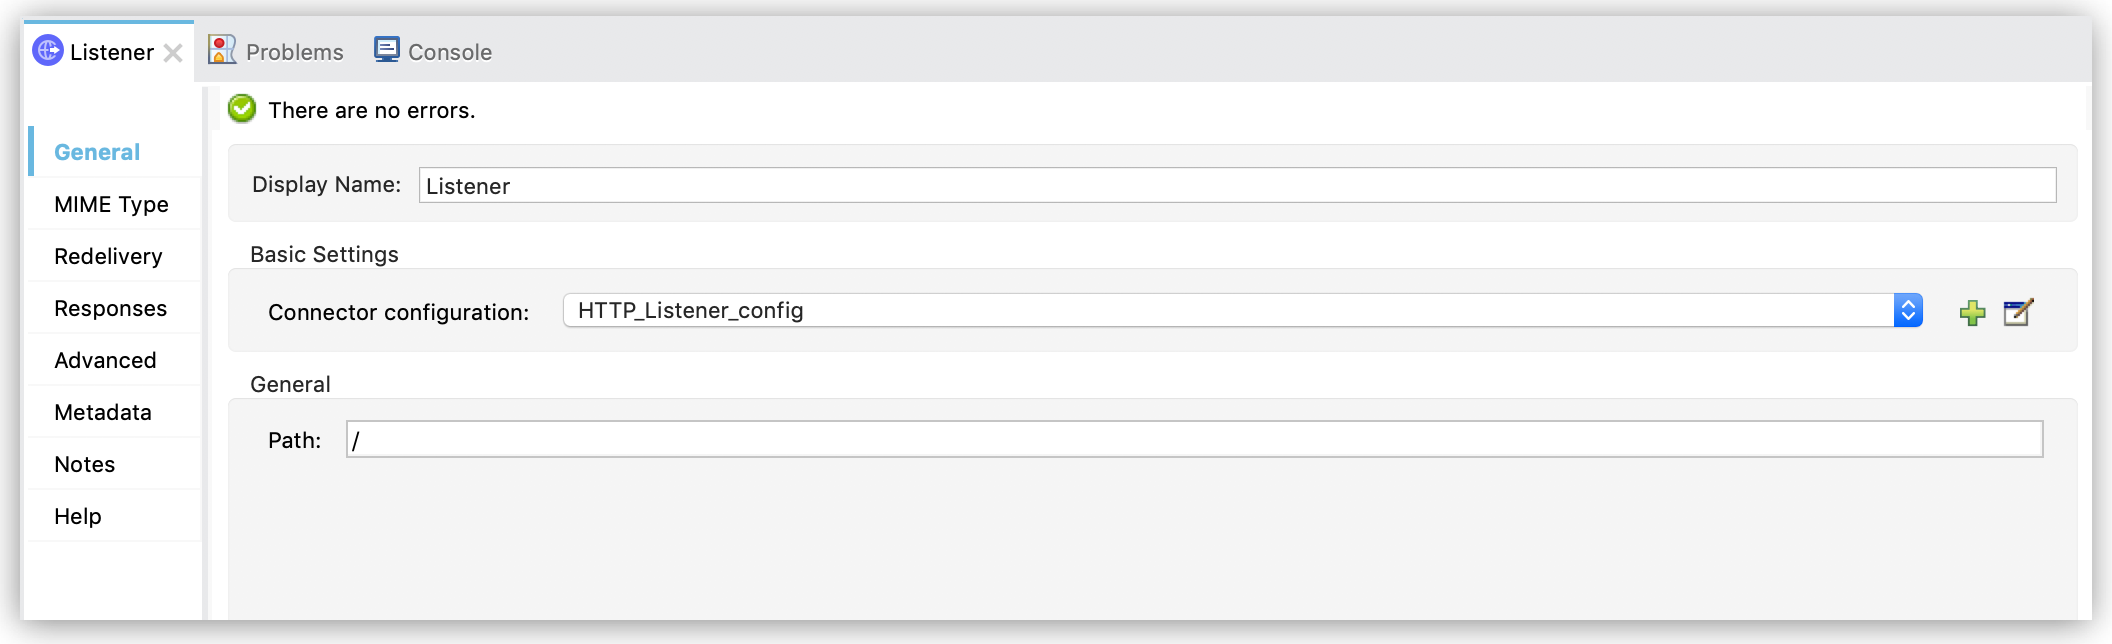 Figure 1. Set the Path field in the Listener configuration.
Add a Transform Message Component to Attach the Metadata
To add and configure a Transform Message component:
-
In the Mule Palette view, search for
transformand select Transform Message: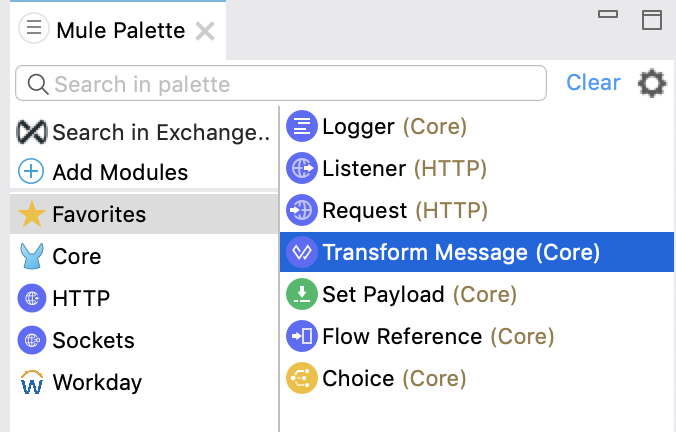 Figure 2. Select Transform Message in the Mule Palette view.
 -
Drag the Transform Message component onto the canvas, to the right of the Listener component.
-
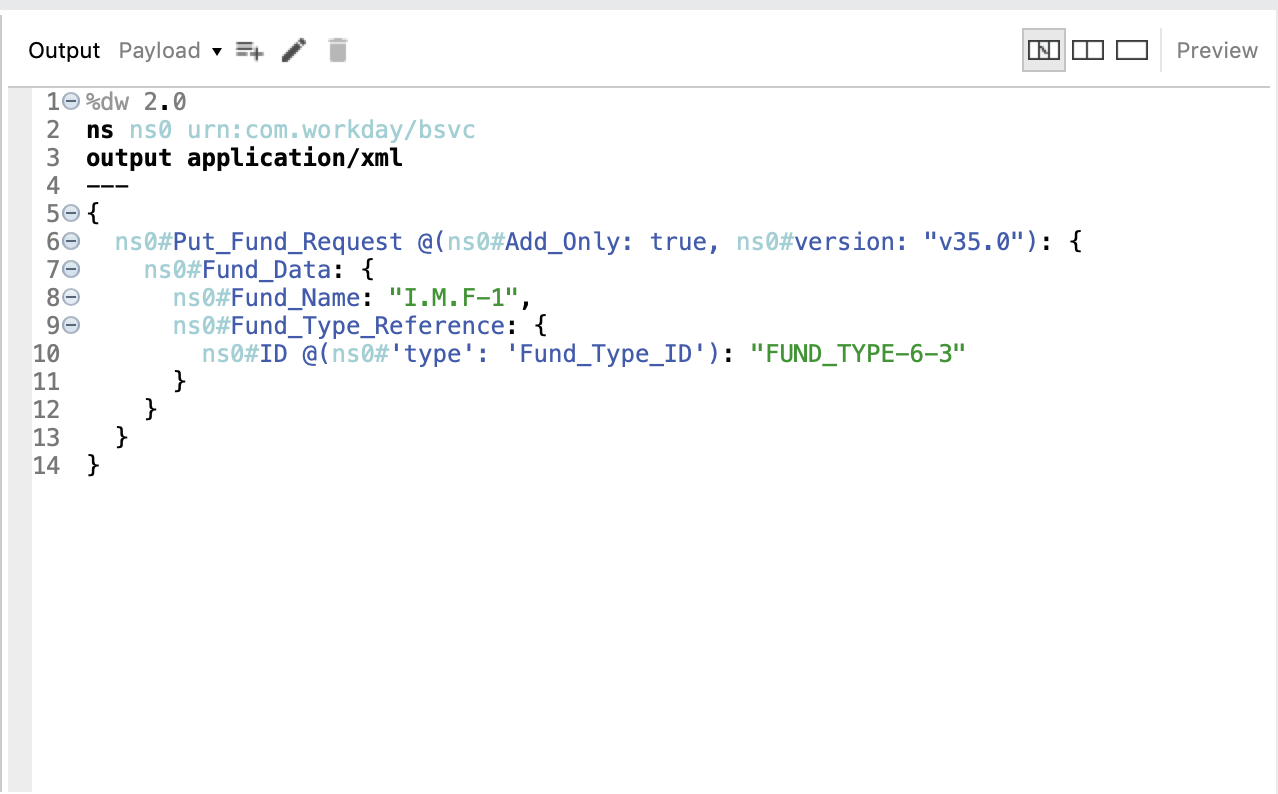
In the Transform Message configuration, overlay the brackets in the Output section with this XML:
%dw 2.0
output application/xml
ns ns0 urn:com.workday/bsvc
---
{
  ns0#Put_Fund_Request @(ns0#Add_Only: true, ns0#version: "v36.0"): {
    ns0#Fund_Data: {
      ns0#Fund_Name: "I.M.F",
      ns0#Fund_Type_Reference: {
        ns0#ID @(ns0#'type': 'Fund_Type_ID'): "FUND_TYPE-6-3"
      }
    }
  }
}
The following XML shows sample input to the Transform Message component
<ns0:Put_Fund_Request xmlns:ns0="urn:com.workday/bsvc" Add_Only="true" version="v36.0">
  <ns0:Fund_Data>
    <ns0:Fund_Name>I.M.F</ns0:Fund_Name>
    <ns0:Fund_Type_Reference>
      <ns0:ID type="Fund_Type_ID">FUND_TYPE-6-3</ns0:ID>
    </ns0:Fund_Type_Reference>
  </ns0:Fund_Data>
</ns0:Put_Fund_Request>
The following screenshot shows the corresponding output, as it appears in the Output section of the Transform Message configuration:
Add and Configure the Financial Management Operation
-
In the Mule Palette view, search for
workdayand select the Financial management operation. -
Drag the Financial management operation onto the canvas, to the right of the Transform Message component.
-
In the Financial management configuration, click + next to the Connector configuration field to add a global element.
-
Configure the global element as follows:
-
Configuration Name:
My_Workday_Connection -
Connection:
Basic authentication api -
Password:
${workday.password} -
Host Name: Leave the default,
impl-cc.workday.com -
Tenant Name:
${workday.tenantName} -
Username:
${workday.userName}
-
-
Click Test Connection to ensure your username, password, and tenant name are correct.
-
Click OK.
-
In the properties window, select
Put_Fundin the Operation field.
Add a Logger Component to Display the Response in the Mule Console
-
In the Mule Palette view, search for
loggerand select Logger (Core). -
Drag the Logger component onto the canvas, to the right of the Financial management component.
-
Configure the following fields:
Field Value Display Name
Enter
Log Response.Message
Enter
`#[payload]`.Level
Leave the default,
INFO. -
Save the project.
-
Test the app by sending a request to
/on port 8081. -
You will receive an XML response similar to this one:
<wd:Put_Fund_Response xmlns:wd="urn:com.workday/bsvc" wd:version="v36.0">
    <wd:Fund_Reference wd:Descriptor="I.M.F">
        <wd:ID wd:type="WID">THE_WID_ID_NUMBER</wd:ID>
        <wd:ID wd:type="Fund_ID">FUND-6-399</wd:ID>
    </wd:Fund_Reference>
</wd:Put_Fund_Response>
XML for the Financial Management Example
Paste this code into the Studio XML editor to quickly load the flow for this example into your Mule app:
?xml version="1.0" encoding="UTF-8"?>

<mule xmlns:ee="http://www.mulesoft.org/schema/mule/ee/core" xmlns:http="http://www.mulesoft.org/schema/mule/http"
	xmlns:workday="http://www.mulesoft.org/schema/mule/workday"
	xmlns="http://www.mulesoft.org/schema/mule/core" xmlns:doc="http://www.mulesoft.org/schema/mule/documentation" xmlns:xsi="http://www.w3.org/2001/XMLSchema-instance" xsi:schemaLocation="http://www.mulesoft.org/schema/mule/core http://www.mulesoft.org/schema/mule/core/current/mule.xsd
http://www.mulesoft.org/schema/mule/workday http://www.mulesoft.org/schema/mule/workday/current/mule-workday.xsd
http://www.mulesoft.org/schema/mule/http http://www.mulesoft.org/schema/mule/http/current/mule-http.xsd
http://www.mulesoft.org/schema/mule/ee/core http://www.mulesoft.org/schema/mule/ee/core/current/mule-ee.xsd">
	<http:listener-config name="HTTP_Listener_config" doc:name="HTTP Listener config" >
		<http:listener-connection host="0.0.0.0" port="8081" />
	</http:listener-config>
	<workday:config name="My_Workday_Connection" doc:name="Workday Config" >
		<workday:basic-authentication-api-connection password="${workday.password}" tenantName="${workday.tenantName}" userName="${workday.userName}" />
	</workday:config>
	<http:listener-config name="HTTP_Listener_config1" doc:name="HTTP Listener config" >
		<http:listener-connection host="0.0.0.0" port="8081" />
	</http:listener-config>
	<workday:config name="My_Workday-Connection" doc:name="Workday Config" >
		<workday:basic-authentication-api-connection password="${workday.password}" tenantName="${workday.tenantName}" userName="${workday.userName}" />
	</workday:config>
	<flow name="workday-13-test-exampleFlow" >
		<http:listener doc:name="Listener" config-ref="HTTP_Listener_config1" path="/"/>
		<ee:transform doc:name="Transform Message" >
			<ee:message >
				<ee:set-payload ><![CDATA[%dw 2.0
output application/xml
ns ns0 urn:com.workday/bsvc
---
{
  ns0#Put_Fund_Request @(ns0#Add_Only: true, ns0#version: "v36.0"): {
    ns0#Fund_Data: {
      ns0#Fund_Name: "I.M.F",
      ns0#Fund_Type_Reference: {
        ns0#ID @(ns0#'type': 'Fund_Type_ID'): "FUND_TYPE-6-3"
      }
    }
  }
}]]></ee:set-payload>
			</ee:message>
		</ee:transform>
		<workday:financial-management doc:name="Financial management" config-ref="My_Workday-Connection"/>
		<logger level="INFO" doc:name="Log Response"  message="#[payload]"/>
	</flow>
</mule>
Create a Workday Position Request (Flow Designer Example)
A financial position shows the current balances for assets, liabilities, and equity in an organization. This example creates a Workday position request:
-
Create a Mule application in Flow Designer.
-
Add and configure HTTP Listener as a trigger for your flow.
-
Set the Path field to
/create_positionand use the default configuration for the HTTP Listener connection. -
Add the Transform DataWeave component to your flow.
-
Provide this transformation script to DataWeave:
%dw 2.0 ns ns0 urn:com.workday/bsvc output application/xml --- { ns0#Create_Position_Request: { ns0#Business_Process_Parameters: { ns0#Auto_Complete: true, ns0#Run_Now: true }, ns0#Create_Position_Data: { ns0#Supervisory_Organization_Reference: { ns0#ID @("ns0:type": "Organization_Reference_ID"): "SUPERVISORY_ORGANIZATION-6-226" }, ns0#Position_Data: { ns0#Job_Posting_Title: "General Manager" }, ns0#Position_Group_Restrictions_Data: { ns0#Availability_Date: "2019-07-06", ns0#Earliest_Hire_Date: "2019-07-08" }, ns0#Edit_Assign_Organization_Sub_Process: { ns0#Business_Sub_Process_Parameters: { ns0#Skip: true } }, ns0#Request_Default_Compensation_Sub_Process: { ns0#Business_Sub_Process_Parameters: { ns0#Skip: true } }, ns0#Assign_Pay_Group_Sub_Process: { ns0#Business_Sub_Process_Parameters: { ns0#Skip: true } }, ns0#Assign_Costing_Allocation_Sub_Process: { ns0#Business_Sub_Process_Parameters: { ns0#Skip: true } } } } } -
Input to Workday Connector is as follows:
<ns0:Create_Position_Request xmlns:ns0="urn:com.workday/bsvc"> <ns0:Business_Process_Parameters> <ns0:Auto_Complete>true</ns0:Auto_Complete> <ns0:Run_Now>true</ns0:Run_Now> </ns0:Business_Process_Parameters> <ns0:Create_Position_Data> <ns0:Supervisory_Organization_Reference> <ns0:ID ns0:type="Organization_Reference_ID">SUPERVISORY_ORGANIZATION-6-226</ns0:ID> </ns0:Supervisory_Organization_Reference> <ns0:Position_Data> <ns0:Job_Posting_Title>General Manager</ns0:Job_Posting_Title> </ns0:Position_Data> <ns0:Position_Group_Restrictions_Data> <ns0:Availability_Date>2019-07-06</ns0:Availability_Date> <ns0:Earliest_Hire_Date>2019-07-08</ns0:Earliest_Hire_Date> </ns0:Position_Group_Restrictions_Data> <ns0:Edit_Assign_Organization_Sub_Process> <ns0:Business_Sub_Process_Parameters> <ns0:Skip>true</ns0:Skip> </ns0:Business_Sub_Process_Parameters> </ns0:Edit_Assign_Organization_Sub_Process> <ns0:Request_Default_Compensation_Sub_Process> <ns0:Business_Sub_Process_Parameters> <ns0:Skip>true</ns0:Skip> </ns0:Business_Sub_Process_Parameters> </ns0:Request_Default_Compensation_Sub_Process> <ns0:Assign_Pay_Group_Sub_Process> <ns0:Business_Sub_Process_Parameters> <ns0:Skip>true</ns0:Skip> </ns0:Business_Sub_Process_Parameters> </ns0:Assign_Pay_Group_Sub_Process> <ns0:Assign_Costing_Allocation_Sub_Process> <ns0:Business_Sub_Process_Parameters> <ns0:Skip>true</ns0:Skip> </ns0:Business_Sub_Process_Parameters> </ns0:Assign_Costing_Allocation_Sub_Process> </ns0:Create_Position_Data> </ns0:Create_Position_Request> -
Select the connector.
-
Select the web service and the operation with content. In this example, the content is the payload.
Ensure that the values are available as menu items in the Service and Operation fields. The names become available once the connector loads the metadata for them. Do not type the names manually.
-
Set up, test, and save a Workday configuration for the connection to the Workday server, for example:
-
Name:
My Workday Config -
Connection:
Basic Authentication Api -
Username:
my_user_name -
Password:
my_password -
Tenant Name:
my_tenant_name -
Host Name:
impl-cc.workday.com
If the connection test is unsuccessful, correct any invalid connection parameters and retest the connection.
-
-
Add the Logger component to your flow and set
payloadas the message. -
Deploy, sync, or run the app.
-
To test the app, open
http://<Deployment_url>:8081/create_positionfrom a browser or from an app such as cURL.The response is as follows:
<wd:Create_Position_Response xmlns:wd="urn:com.workday/bsvc" wd:version="v36.0">
  <wd:Event_Reference>
  <wd:ID wd:type="WID">WID_VALUE</wd:ID>
  </wd:Event_Reference>
  <wd:Position_Reference>
    <wd:ID wd:type="WID">WID_VALUE</wd:ID>
    <wd:ID wd:type="Position_ID">P-11158</wd:ID>
  </wd:Position_Reference>
</wd:Create_Position_Response>
The logger displays this message:
{Create_Position_Response={Event_Reference={ID=WID_VALUE}, Position_Reference={ID=P-11158}}}