Configuring an Endpoint
This "core concepts" example introduces Flows and Endpoints, and demonstrates how to invoke a Mule application using HTTP. The example introduces two key concepts in Mule:
-
Flow - A Mule flow is a flexible way to build integrated applications. You simply choose any number of building blocks from Mule’s wide range of functionality and combine or glue them together into a single, repeatable process.
-
Endpoint - An endpoint in Mule is a channel for receiving or sending data. An endpoint has a specific protocol, such as HTTP or JMS, and a set of elements for configuring filters, transactions, transformations, and more. There are two types of endpoints: inbound or outbound. An inbound endpoint receives data and allows a flow to be called by an external client. In this particular example, we use an HTTP inbound endpoint, but most endpoints in Mule can be used for inbound and outbound communication. Conversely, an outbound endpoint is used to publish or send data to a flow, application, or resource.
What You Will Learn
-
How to create a Mule flow in Mule Studio
-
How to publish a Mule application and access it through HTTP
-
How to configure HTTP for your application
-
How to run a flow in Mule Studio
Watch a video See this example built and run in Mule Studio |
Build it now! (15 minutes)
-
Run Mule Studio and create a new project:

-
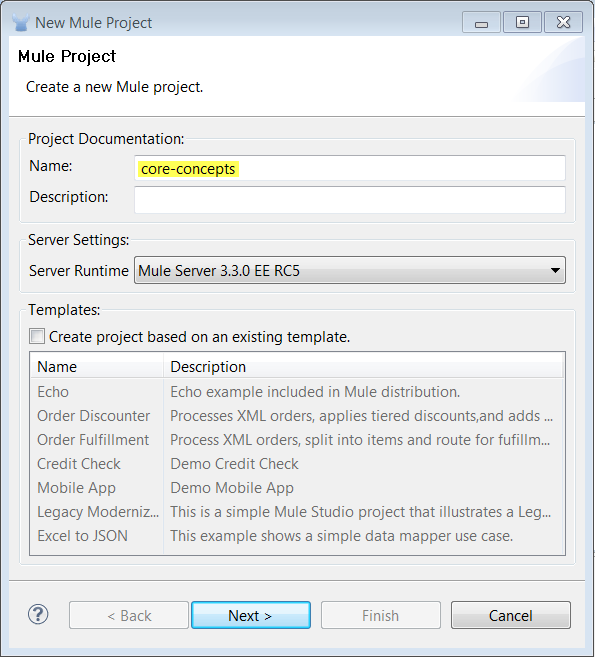
This opens the New Project Dialog where we give the project a name. We call it 'core-concepts':
-
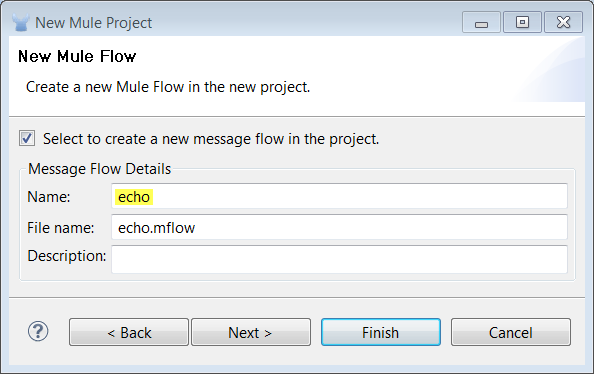
Click Next in the wizard dialog. The next page in the wizard asks you to create a flow- name it “echo”.
-
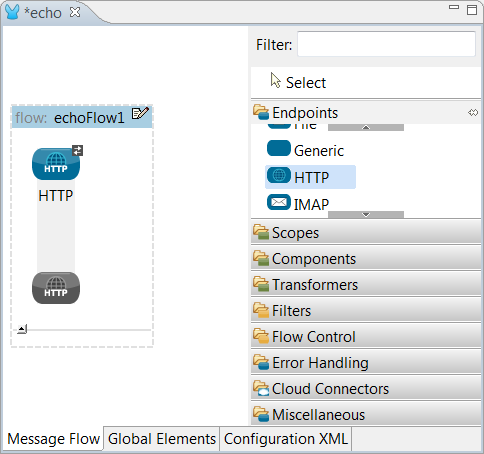
Click Finish in the wizard dialog. The wizard creates a new project and Mule Studio displays a palette and empty canvas. From the Endpoints section in the palette, drag a HTTP endpoint onto the canvas.
-
Double click the HTTP endpoint on the canvas to edit its properties. Set the host to
localhostand the port to 8081: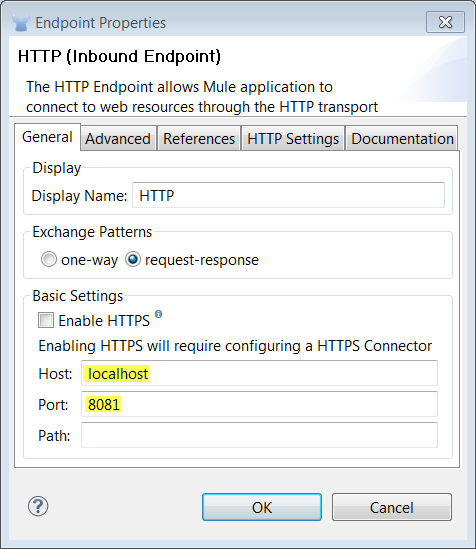
-
Close the HTTP properties dialog. In the palette, click the “Components” section and drag the Echo Component on to the canvas, placing it next to the HTTP endpoint.
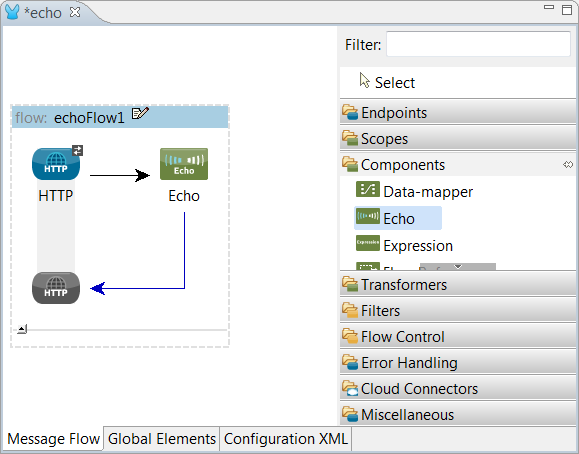
Congratulations! You have created a simple HTTP echo flow and are now ready to run it.
Running the Example
-
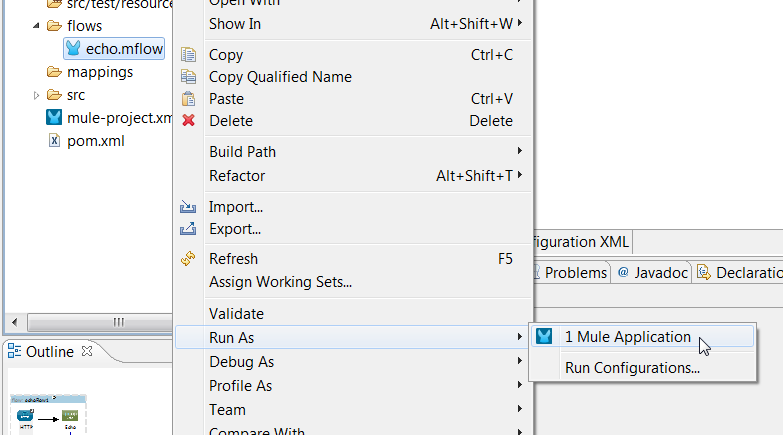
Right-click the flow in the project tree and select Run As… → Mule Application
-
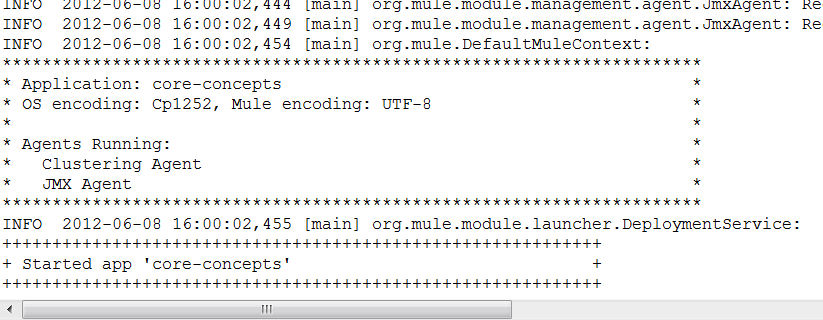
You’ll see logging information in the console window. When the Mule start splash displays in the console, your application has started.
-
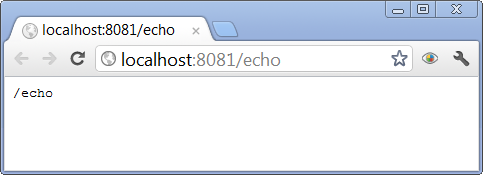
Next, open a browser and go to http://localhost:8081/echo. You should see the following in your browser:
What Just Happened?
-
You created your first flow in Mule. The flow created a HTTP server for accepting incoming requests. The flow is invoked by going to the URL
http://localhost:8081/echoin your browser. -
When a request is received, the echo component simply returns whatever was sent as part of the request.
-
From the browser, you did a HTTP GET request. Since the only information we sent on the URL was in the path “/echo” that is what gets echoed back.
XML Configuration
Every flow has a graphical representation that you see above and an XML configuration view that shows the underlying configuration of a flow. We’re not going to doing anything with the XML configuration for now but it’s good to know its there. The really nice thing about Mule Studio is it supports full two-way editing either in the graphical or XML configuration view.
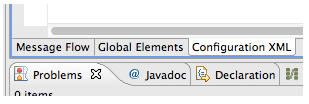
The XML configuration for this example is pretty simple:
<mule xmlns="http://www.mulesoft.org/schema/mule/core"
xmlns:http="http://www.mulesoft.org/schema/mule/http"
xmlns:doc="http://www.mulesoft.org/schema/mule/documentation"
xmlns:core="http://www.mulesoft.org/schema/mule/core"
xmlns:xsi="http://www.w3.org/2001/XMLSchema-instance" version="EE-3.3.0" xsi:schemaLocation="
http://www.mulesoft.org/schema/mule/http http://www.mulesoft.org/schema/mule/http/current/mule-http.xsd
http://www.springframework.org/schema/beans http://www.springframework.org/schema/beans/spring-beans-current.xsd
http://www.mulesoft.org/schema/mule/core http://www.mulesoft.org/schema/mule/core/current/mule.xsd ">

<flow name="echo-flow" doc:name="echo-flow">
<http:inbound-endpoint exchange-pattern="request-response" host="localhost" port="8081" doc:name="HTTP"/>
<echo-component doc:name="Echo"/>
</flow>
</mule>Next Steps
Previous: Studio Basics Walkthrough


