Previewing DataMapper Results on Sample Data
|
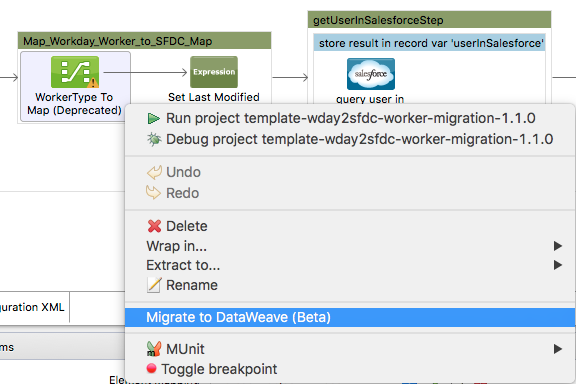
DataMapper will continue to be fully supported in all current and future versions of Mule 3.x, however it will be removed in Mule 4.0 in favor of the Transform Message component (based on DataWeave code). We recommend that if you wish to take advantage of the new capabilities of DataWeave or if you start new projects, upgrade now. A migration tool is now included in Studio, which assists in converting a DataMapper map to DataWeave. Right click on a DataMapper, select Migrate to DataWeave, and follow the instructions. 
If you don’t see DataMapper on your palette, you can enable it by going to Preferences → Anypoint Studio → Palette Profiles and ticking the checkbox Show deprecated Mule Components and Attributes. |
Overview
Anypoint DataMapper gives you the ability to preview the result of a data mapping flow by running it on sample input data of your choice. This page describes how to run a preview of your mapping, as well as the more basic functionality of the live preview in the graphical mapping editor.
Live Preview in the Graphical Mapping Editor
You can obtain a live preview in the graphical mapping editor if your input metadata contains actual values which DataMapper is aware of – for example, if DataMapper pulls input data from a file, and that file contains values.
The live preview displays output data in the graphical mapping editor itself, as shown in the example below.
Simple Example
Input CSV file:
name,lastname,phone
John,Doe,
Jane,Doe,
Mapping to JSON with live preview:
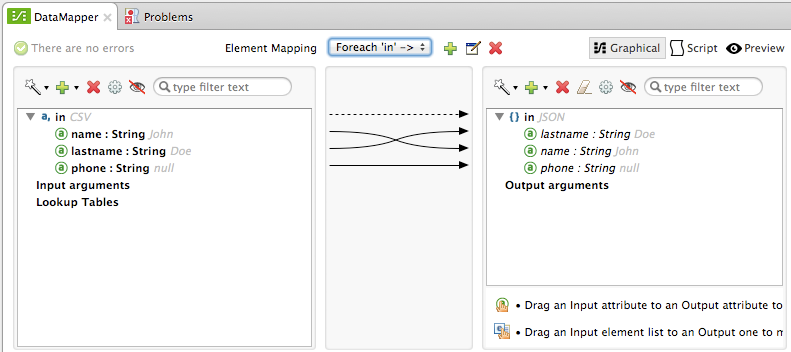
In the image above, the input fields name and lastname have values assigned to them in the input CSV file; these values are shown in gray in both the Input and Output panes. The values shown are the ones in the first row of the CSV input file. Input field phone has no value assigned to it, so the value displayed is null.
Live preview in the output may appear automatically or not, depending on several factors. If, when creating the data mapping, you generated the output metadata from the input metadata (using the From Input feature), then the live preview will appear automatically.
The From Input feature is available when configuring DataMapper, as shown below.

If you did not use this feature when configuring DataMapper, you may need to run a preview of your mapping (as described in the next sections) before you can obtain a live preview.
Bear in mind that the live preview displays only the output for the currently selected element mapping. If your DataMapper contains multiple element mappings, you may need to select the appropriate mapping (using the Element Mapping drop-down menu) to see the live preview.
Setting Up DataMapper Preview
To access the preview functionality, select Preview in the graphical mapping editor:
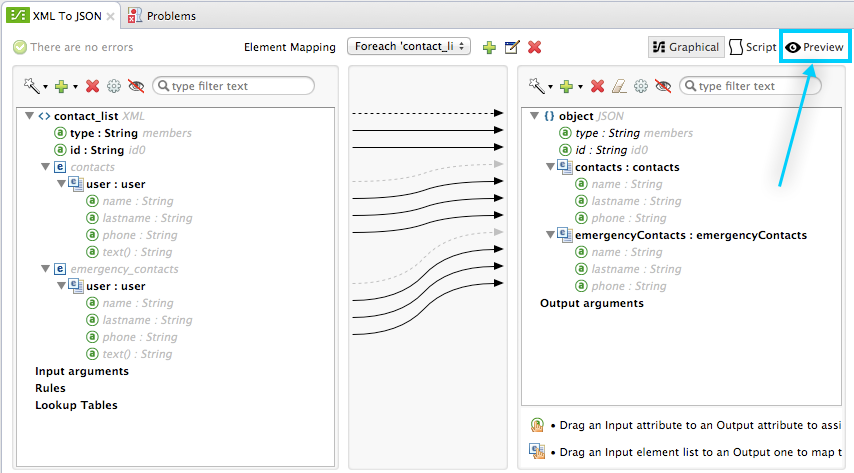
DataMapper displays the Preview pane, shown below.
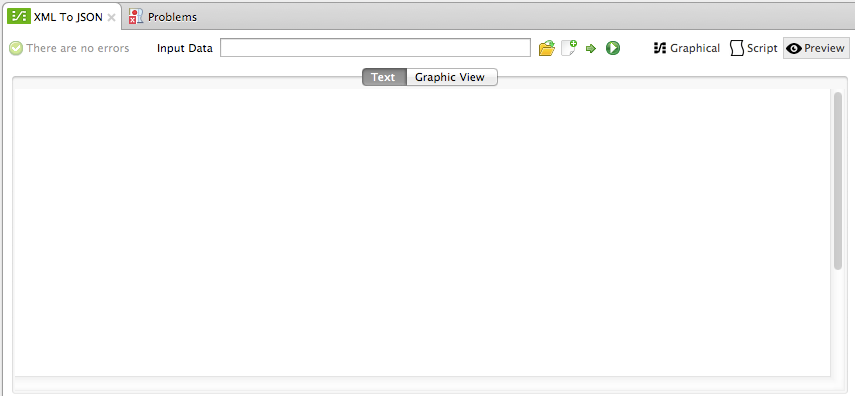
To provide an input file for preview, click the folder button ![]() next to the Input Data field, then browse to the desired input sample data file. Alternatively, type the full path of the file in the Input Data field.
next to the Input Data field, then browse to the desired input sample data file. Alternatively, type the full path of the file in the Input Data field.
The input file must be in the same format as that specified for DataMapper input. For example, if DataMapper is configured as XML to JSON, the input file you select must be an XML file. The input file selector will only let you select files with the .xml extension.
| If you created an input file while configuring DataMapper, the input file is automatically selected in Preview. You can select another file if you wish. |
Instead of using an existing file, you can create a new file for the preview, which you can edit on the spot. To do this, click the new file button ![]() . DataMapper will prompt you for a name and location under which to save the new file, and Studio will automatically open the file for editing.
. DataMapper will prompt you for a name and location under which to save the new file, and Studio will automatically open the file for editing.
| For a full description of the elements in DataMapper Preview, see "Overview of DataMapper Preview" in DataMapper Visual Reference. |
Running the Mapping Preview
Once your preview input file is selected, to run the mapping and preview the output, click the Run ![]() button.
button.
If the mapping executes successfully, the preview results appear in the output window, as shown below.
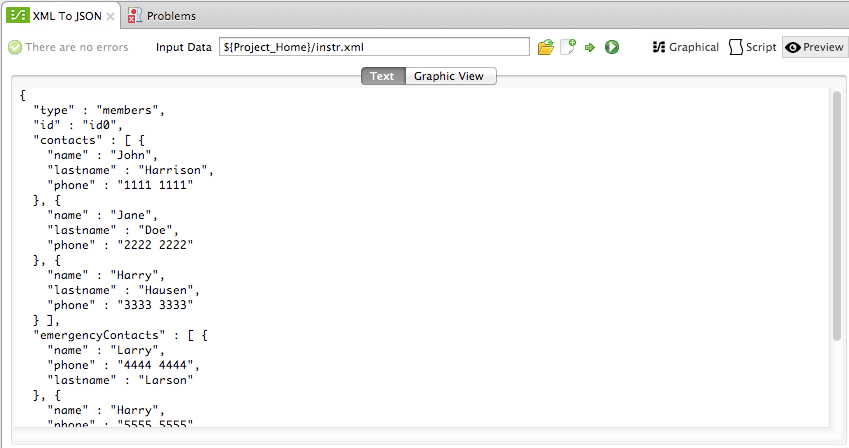
The image above shows the default text view. You can obtain a graphic representation of the output data by clicking Graphic View:
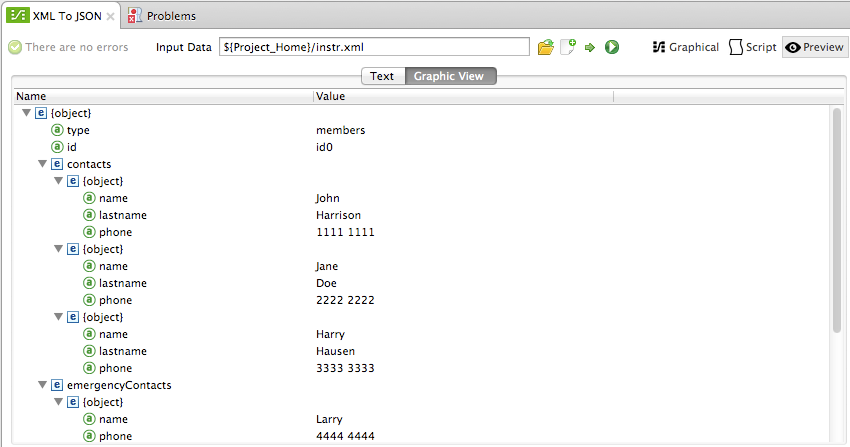
If there is an error in executing the mapping, an error alert appears in the upper left of the Preview window:

This error can indicate an error in the mapping itself, or a problem with the preview input data or input arguments. For example, an Excel input sheet may have values of the wrong type for an operation in the mapping, or a Groovy script may not generate objects of the class or structure that the mapping accepts as input.
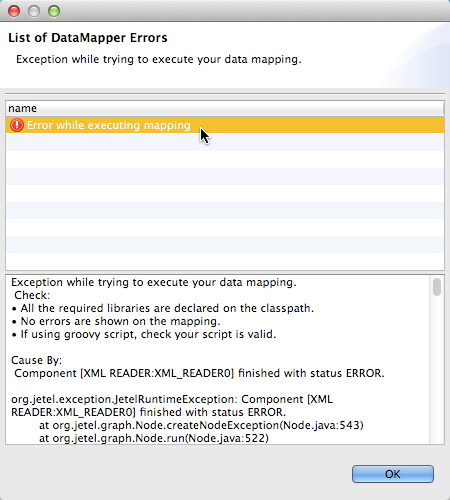
For details about the error, click the alert as shown below.

DataMapper displays the List of DataMapper Errors window. To see details about a specific error, click the error message in the list. The image below displays the window with only one error in the list.
Setting Input Arguments for Preview
To preview output of a DataMapper that uses input arguments:
-
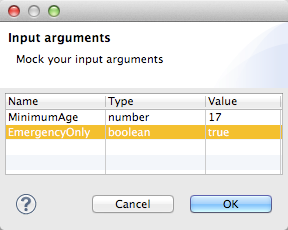
Click the Input Arguments button
 in the Preview window. A dialog opens listing the input arguments for this DataMapper.
 -
Click the Name column of your sample input to select the input argument to set.
-
Click the Value column for that row, and enter your input argument value, which can be any Mule Expression Language expression. Note that you must respect the data types of the input arguments. For example, you must use quotes around any string input value.
-
Click OK.
| For details about input arguments, see "Using Data Mapping Input and Output Arguments" in Building a Mapping Flow in the Graphical Mapping Editor. |
Simulating Input for POJO or Map Inputs
For POJO, Maps and complex structures like Lists of Maps, you need to supply a Groovy script that contains a function that returns the required object or collection of objects as input. This script will be executed and the returned object passed into the DataMapper.
| Groovy is the only scripting language supported. Other JSR-223 scripting languages supported elsewhere in Mule are not supported for creating DataMapper preview data. |
For example, consider a DataMapper that accepts as input an object of class InputPojo:
public class InputPojo {
     private String description;
     private Integer id;
     private Long creationTimestamp;
     private String value1;
     private String value2;

     public InputPojo() {
     }
    //getters and setters omitted
    ...
}
The following Groovy script creates, populates and returns an instance of InputPojo, which provides DataMapper the needed input for previewing the results:
import org.mulesoft.dmia.example.InputPojo
InputPojo sample = new InputPojo()
sample.description = "Sample Description"
sample.id = 1000
sample.creationTimestamp = System.currentTimeMillis()
sample.value1 = "Sample Name"
sample.value2 = "Sample un-used value"
return sample


