Configure Studio Browser Settings
Anypoint Studio comes bundled with a default browser to display elements of the Anypoint Platform UI. For example, when you deploy to CloudHub from Studio, Studio displays the Runtime Manager UI by using a built-in browser.
This built-in browser is the default. However, if you log in to Anypoint Platform using multi-factor authentication (MFA), you must configure Studio to use your system’s native browser to render the Anypoint Platform UI:
-
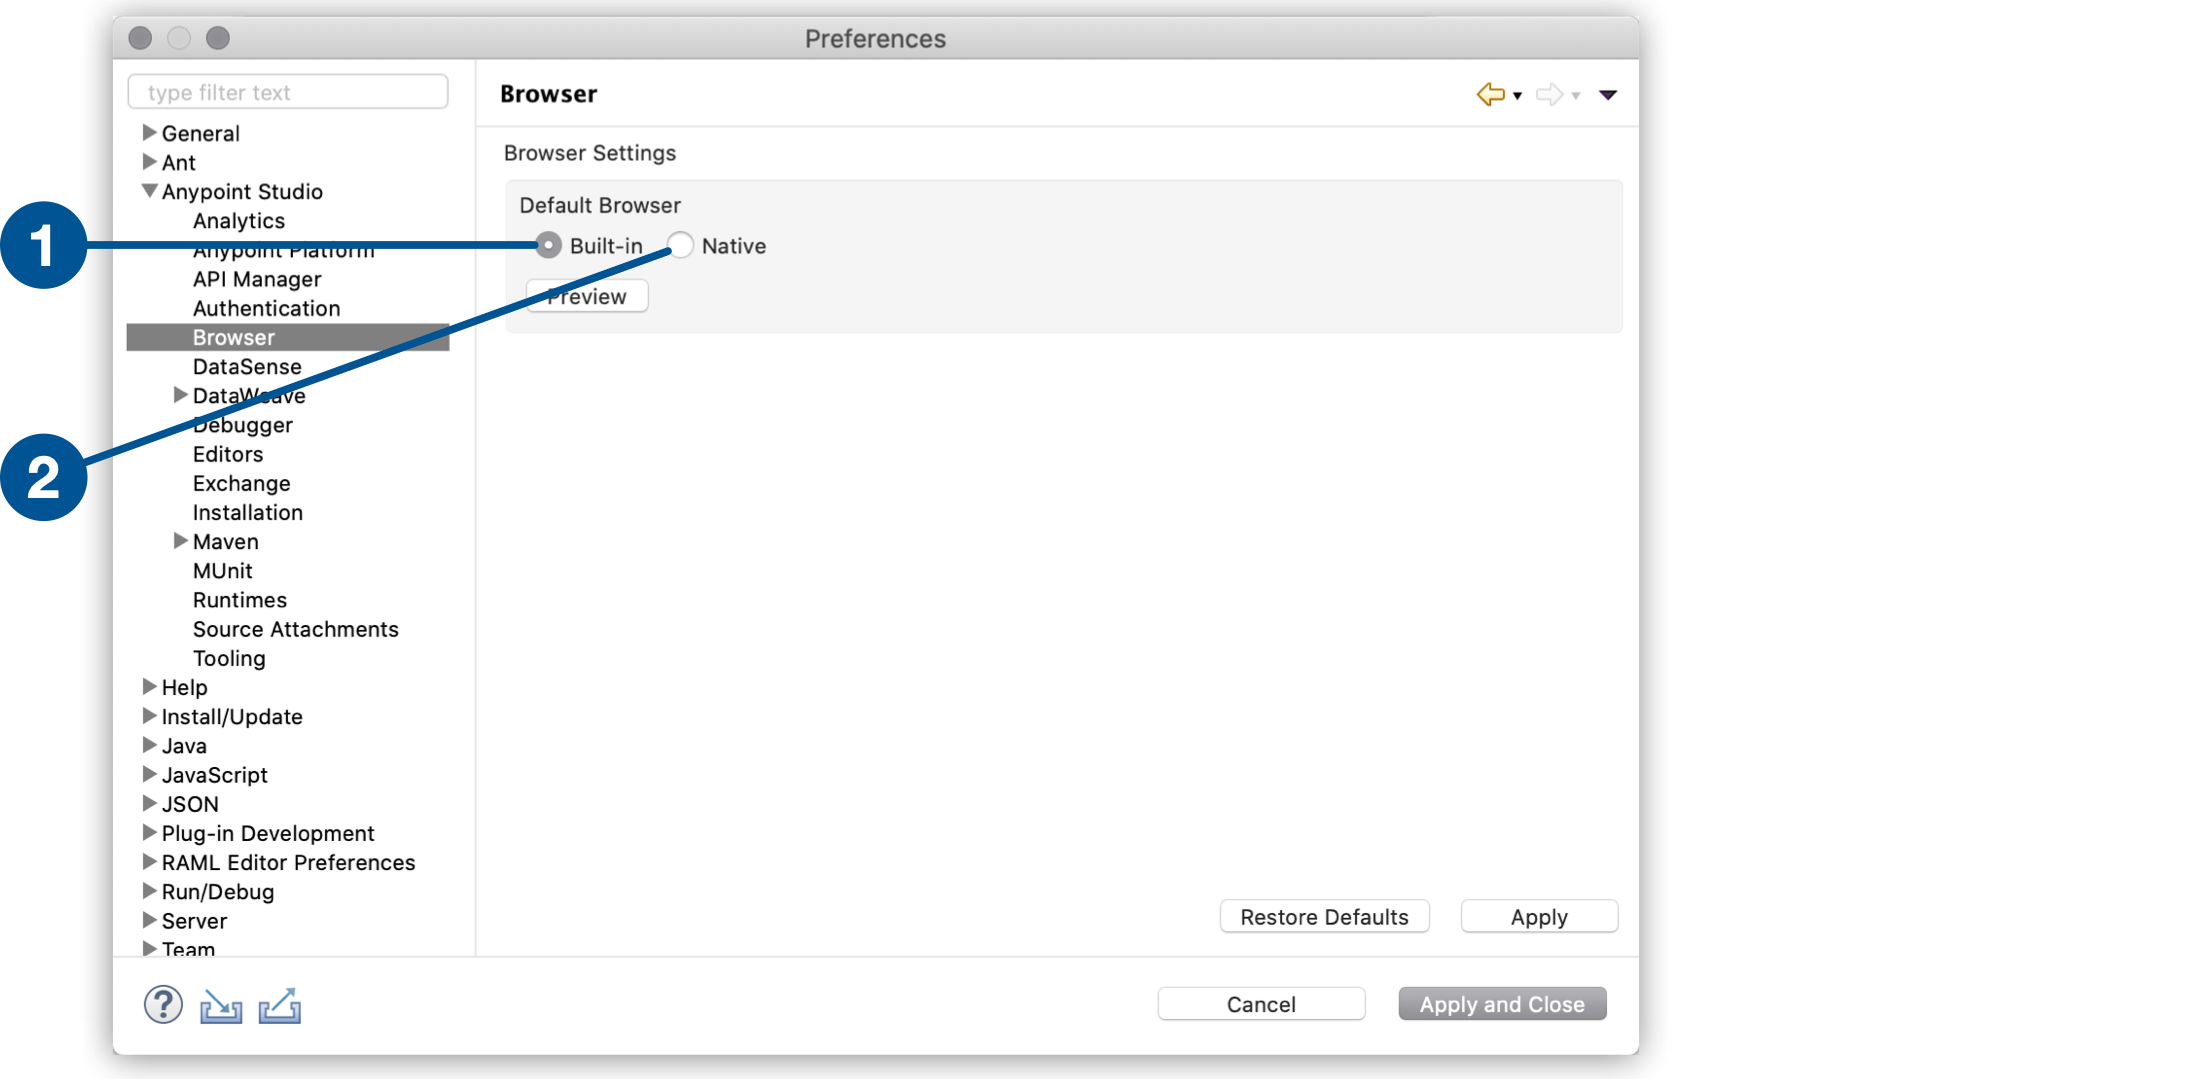
Navigate to Preferences > Anypoint Studio > Browser.
-
Select the type of default browser for Studio:

| 1 | Built-in: Uses the built-in browser. |
| 2 | Native: Uses the native browser of your operative system. |
-
Click Preview to verify the changed configuration.
Additionally, if you use Windows you must perform an additional configuration:
-
Quit Anypoint Studio if you’re running it.
-
Download the latest fixed version of WebView2 from the Microsoft Developer Portal.
-
Extract the
.cabfile with the following command in a Command Prompt (CMD):Extrac32 /E <path_to_CAB> -
Locate your
AnypointStudio.inifile inside your Anypoint Studio installation directory. -
Add the following lines to the
AnypointStudio.inifile:-Dorg.eclipse.swt.browser.DefaultType=edge -Dorg.eclipse.swt.browser.EdgeDir=<path-to-extracted-WebView2-dir> # for example: # -Dorg.eclipse.swt.browser.EdgeDir=C:\Users\my-user\Downloads\Microsoft.WebView2.FixedVersionRuntime.9x.x.xx.xx


