Working with the Server Configuration Files
Working with the Server Configuration Files
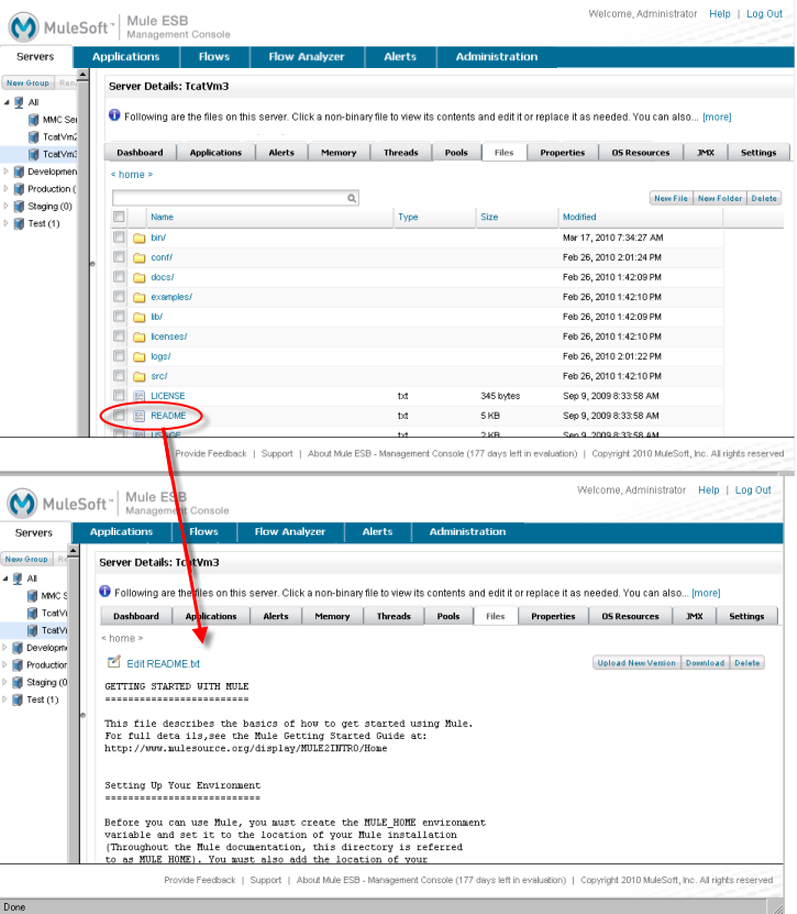
The Files tab displays the files and folders on the server, listing the contents of the Mule installation directory. You can view and edit any text-based (non-binary) file right in the console. The figure below shows an example of the file listing for a server. The figure also shows that clicking the text-based README.txt file displays its contents.
To view a file, simply click its name. You can filter the files in the current view by typing part of the file name you want in the search box and then selecting the file in the table.
To edit a file:
-
Click the file to view its contents.
-
Click the Edit link and make your changes in the editor that appears.
-
Click Save to save your changes and close the editor, or if you make a mistake, click Reset to reset the editor window to the original text in the file. To cancel your changes without saving and close the editor window, click Cancel.
After saving your changes, you can click <home> to view the list of files again. This takes you to the MULE_HOME directory or folder.
To upload a new version of a file:
-
Click the file to view its contents.
-
Click Upload New Version.
-
Browse to the new version of the file and click Upload.
To add a new file to the server:
-
If you want to create a new folder for the file, click New Folder, enter a unique name, and then click Create.
-
Navigate to the folder where you want to create the file, and then click New File.
-
Enter the name you want to display for this file.
-
Specify the file (you can click Browse to select it from your file system) and click Upload.
To delete a file, click its name to view it, and then click Delete. You can also click the check box to the left of the file name in the folder listing, then click Delete.