Installing the Production Version of MMC
The Mule Management Console is a Web app designed to run in an application server, such as Apache Tomcat, and usually packaged in a .war file.
This document describes where to download the required files and how to install or deploy these files for different application servers. You can contact the MuleSoft Support team with any questions about downloading and deploying Mule Management Console.
Assumptions
This document assumes that you are have the current version of Mule Enterprise already installed. Download it from the customer portal if you need to upgrade to this version. If you are using an older version of Mule Enterprise, please switch to that version of this documentation.
This document assumes that your enterprise license is current. Please see Installing an Enterprise License for information on obtaining and installing an enterprise license.
This document also assumes that you have a Web application server such as Tomcat or JBoss installed. Refer to the Hardware and Software Requirements for the latest information about hardware requirements and supported application servers, Java Runtime Environments, and browsers.
Installation and Deployment Checklist
To install the management console:
-
Download the Mule Management Console application (.war file) from the MuleSoft customer portal. (Note that the management console agent, formerly a separate download and installation, is now embedded in the Mule Enterprise distribution.)
-
Rename your .war file to
mmc.war.Why?
The name of the WAR file varies depending on the version that you download, following the format
<console_name>-<version>.war. Once you have downloaded this file from the customer portal, change the name tommc.war.All instructions below assume that your WAR file has been renamed as mmc.war. If your file is named differently, note that the URL that you use to access the console changes accordingly. For example, if your war file is namedmmc-foobar.war, you would need to use ` http://localhost:8080:mmc-foobar` to access the console. -
If your Mule ESB instance is packaged as a Web app (not recommended), please open a support case at: https://support.mulesoft.com for special instructions.
-
Adjust the configuration on your web application server so that it gives precedence to MMC’s classloader, instead of your Web application server’s own native classloader.
-
Deploy your
mmc.warfile to your application server. See specific instructions for each supported app server in the following section.
Deployment Instructions for Specific Web Application Servers
| Since the procedure for deploying varies by app server, you should also refer to your app server’s documentation for complete information on deploying web apps. |
Deploying the Management Console .war in Tomcat
You can deploy the management console and your Mule applications inside Tomcat without any modifications, other than specifying JVM parameters.
Alter your JVM parameters in Tomcat as follows.
For Windows:
-
Create a file named
setenv.batin the$TOMCAT_HOME\bindirectory. -
Copy the following string into the file:
set JAVA_OPTS=-Xmx1024m -XX:MaxPermSize=512m -
Save the file.
For MacOS/Linux:
-
Create a file named
setenv.shin the$TOMCAT_HOME/bindirectory. -
Copy the following lines into the file:
#!/bin/sh JAVA_OPTS="-Xmx1024m -XX:MaxPermSize=512m" -
Save the file.
-
Make it executable, for example with the command
chmod u+x setenv.sh.We recommend running on an IP v4 stack. Tomcat runs by default with IPv6, so to specify IPv4 instead, modify the
JAVA_OPTSin the$TOMCAT_HOME/bin/setenv.shfile, as shown below.#!/bin/sh JAVA_OPTS="-Xmx1024m -XX:MaxPermSize=512m -Djava.net.preferIPv4Stack=true"The line above adds the
-Djava.net.preferIPVv4Stack=trueoption toJAVA_OPTS.
Be sure not to run programs on your system that try to bind to the same port using different versions of the IP protocol.
For Tomcat, first deploy the mmc.war file by copying it to your Tomcat /webapps directory. Tomcat, when started, deploys the Management Console application. After Tomcat deploys the console Web application, you should see a directory called mmc inside Tomcat’s webapps directory.
Deploying the Management Console .war in JBoss
Due to JMX conflicts generated by an old MBeanServer implementation, you must configure JBoss to use the Java5 MBeanServer. You do this by providing the -Djboss.platform.mbeanserver parameter in the startup command. For example:
./run.sh -c all -Djboss.platform.mbeanserver
On Windows, before startup, ensure that the environment variable JAVA_OPTS contains the following:
-Djboss.platform.mbeanserver-Djavax.management.builder.initial=org.jboss.mx.server.MBeanServerBuilderImpl
Note, too, that memory-related JVM options are still mandatory. For instance:
export JAVA_OPTS="-XX:MaxPermSize=512m -Xmx1G"
You may also try specifying smaller memory parameters depending on your environment, such as:
export JAVA_OPTS="-XX:MaxPermSize=300m -Xmx256m"
To successfully deploy the console to JBoss 6, you need to remove the following files from JBoss:
-
common/lib/quartz.jar -
server/<your_profile>/deploy/quartz-ra.rar, where<your_profile>is your server profile.
Deploying the Management Console .war to WebSphere
The detailed, step-by-step instructions for installing and deploying MMC to WebSphere are provided on Installing and Deploying MMC to WebSphere.
Note that if you want to configure MMC to persist data on external databases, you should follow the instructions for the specific database, as described here:
-
MMC version 3.4.X prior to 3.4.2: Persisting MMC Data On External Databases in MMC 3.4.2
The locations of the files to modify differs from those instructions (which are based on an example Tomcat installation.)
For an example, see Installing and Deploying MMC to WebSphere.
Starting the Management Console
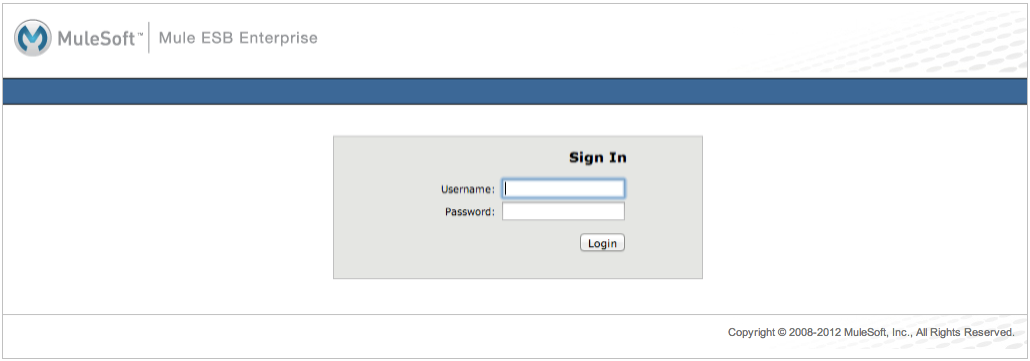
To run the Management Console, make sure your application server is running and the Management Console Web app has been deployed correctly. Then, navigate to the URL where the Management Console Web application is hosted, for example http://localhost:8080/mmc. If you see the login screen (see below), you have installed everything correctly and are now running the console.
Log in with the username admin and the password admin.
See Also
-
Get familiar with the MMC console.
-
Learn the basics of using MMC with the MMC Walkthrough.
-
Learn more about how to set up MMC to meet your needs.
-
Access the troubleshooting guide.