Installing Extensions
Beyond the out-of-the-box functionality included in the Mule distributions, various plugins, modules, connectors, and runtimes (for Studio) are made available by download. Complete the following procedure to extend the functionality of your instance of Mule.
Studio
|
Installing Mule 3.3.3 runtime on your instance of Studio? Runtimes and Connectors in Studio If you intend to install the 3.3.3 runtime on your instance of Studio and use Anypoint Connectors in your application, you must also install and use older versions of Anypoint Connectors. (The Anypoint Connectors bundled with Mule 3.4.0 are incompatible with the 3.3.3 runtime. ) Complete the following steps before or after you install the older runtime on your instance of Mule.
|
-
Under the
Helpmenu in Mule Studio, selectInstall New Software. -
In the Work with: field in the Install wizard, enter one of the following:
-
use the drop-down menu to select --All Available Sites-- and browse the plugins and modules available for download into Studio
-
use the drop-down menu to select a specific plugin or module
-
enter a specific URL from which you wish to download a plugin, module, or connector
-
-
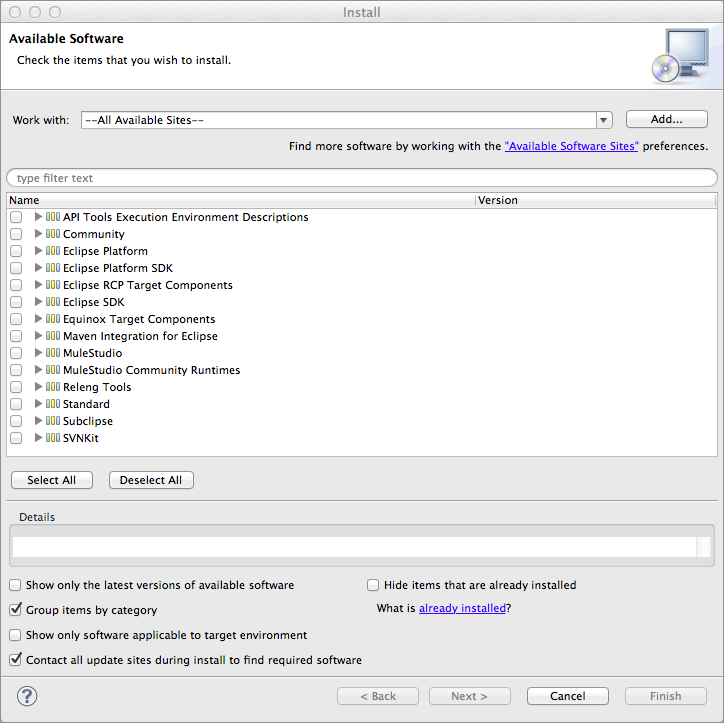
In the table below the filter field (see image below), use the checkboxes to select one or more modules or plugins you wish to install on your instance of Studio (click to expand the folders to select individual items), then click Next.
-
Review the details of the item(s) you selected, then click Next.
-
Click to accept terms and conditions of the product, then click Finish.
-
Click Restart Now to complete the installation.
|
The Studio documentation offers more specific instructions for downloading and using the following extensions: |
|
Are you behind a firewall? If you are on a network with firewall restrictions, you may find that the Studio update sites are blocked and you are unable to download extensions. Allow the following sites on your firewall to allow Studio to connect to the update sites: |
Standalone
-
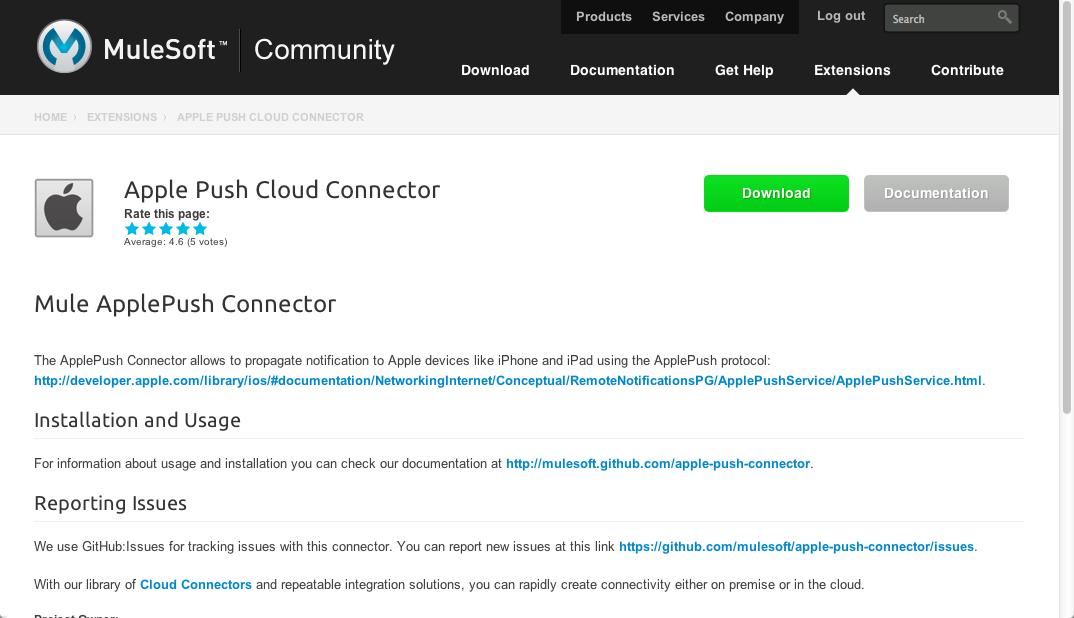
Browse available extensions for download.
-
Click to reveal the details of a specific extension, then click Download.
-
Click Documentation to review relevant details about the various ways to install and use the extension.
Checking Extension Versions
Not sure what version of an extension you have installed? Follow the procedure below to find version information for your extensions.
Studio
-
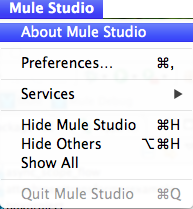
In Mule Studio, open the Mule Studio menu, then click About Mule Studio.
-
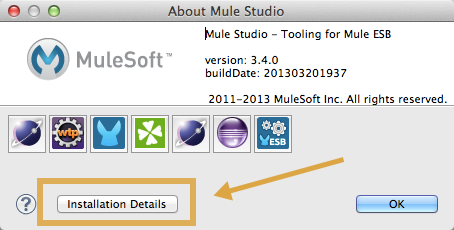
Click Installation Details.
-
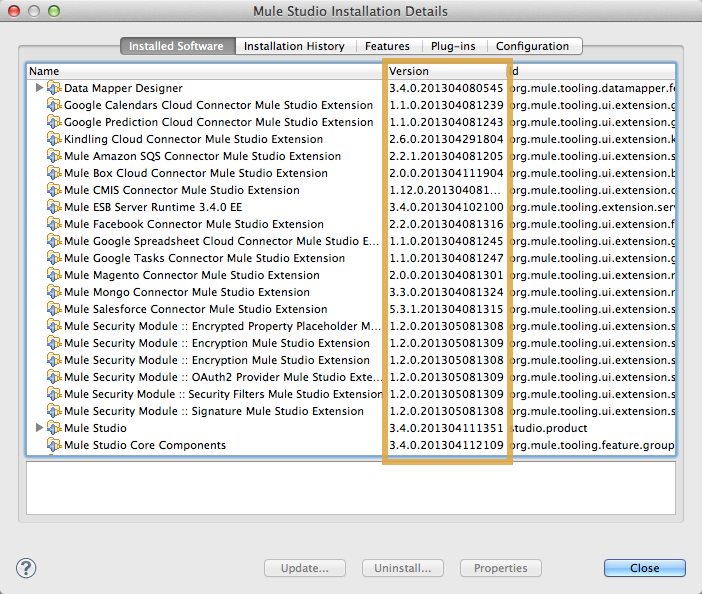
On the Mule Studio Installation Details window, the Installed Software tab is open by default, listing all extensions and other software you have installed. Find the extension you are interested in and check the Version column to see the version number.
Standalone
To identify an extension’s version in Mule Standalone, access your pom.xml file and check the version number associated with the extension in your dependencies.