Anypoint Studio
-
Before installing Anypoint Studio, be sure to install Java SE Development Kit 7 on your host machine, refer to Hardware and Software Requirements for reference. See also Running Studio on a Mac.

-
Set your
JAVA_HOMEenvironment variable to the path in which you installed the JDK. -
Visit mulesoft.com to download Mule ESB Enterprise with Anypoint Studio.
-
Click to download the version of Studio that is compatible with your operating system: Windows, Mac, or Linux.
-
Unzip the downloaded file to a directory on a hard drive located on your host machine. The Anypoint Studio folder or directory appears when the unzip operation completes.
-
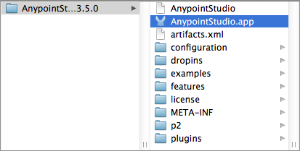
If using a Mac OS, double-click the AnypointStudio.app file, located in the AnypointStudio folder. If using Windows, the anypointStudio.exe file, located in the AnypointStudio directory. If using Linux, double-click the anypointStudio file icon, located in the AnypointStudio directory.

-
Click OK to accept the default workspace.

-
Studio launches, then displays a Welcome page. Click Create a Project to begin development immediately.
-
Optional: Add the Community Runtime to your Studio instance.
-
Optional: Installing an Enterprise License (recommended for running applications in production).
Mule EE Runtime + MMC
-
Install Java SE Development Kit 7 on your host machine. Refer to Hardware and Software Requirements for reference.
-
Set your
JAVA_HOMEenvironment variable to the path in which you installed the JDK. -
Download and unzip Mule Runtime. See also Running Studio on a Mac for additional Mac-related install information.
-
Start Mule from the software download’s
binfolder by typing./mulefor Mac and Linux, ormule.batfor Windows. -
Download and unzip the Mule Management Console (MMC) separately from the Support Portal.
-
Open a command line and navigate to the freshly extracted folder.
-
From the terminal, run the appropriate startup command for your operating system.
-
Windows:
startup.bat
-
Linux or Mac:
./startup.sh
-
-
Wait for Mule to start running, which may take a minute or two. MMC automatically deploys and starts running from an embedded Tomcat server. Once Mule and MMC are running, you should see a message similar to the following:
Mule running as PID=##### Tomcat and MMC running as PID=##### Finished starting Mule and MMC. -
The Mule startup messages displays the URL where Tomcat is serving the MMC application, for example
http://localhost:8585/mmc-3.5.0.Use a Web browser to navigate to this URL. -
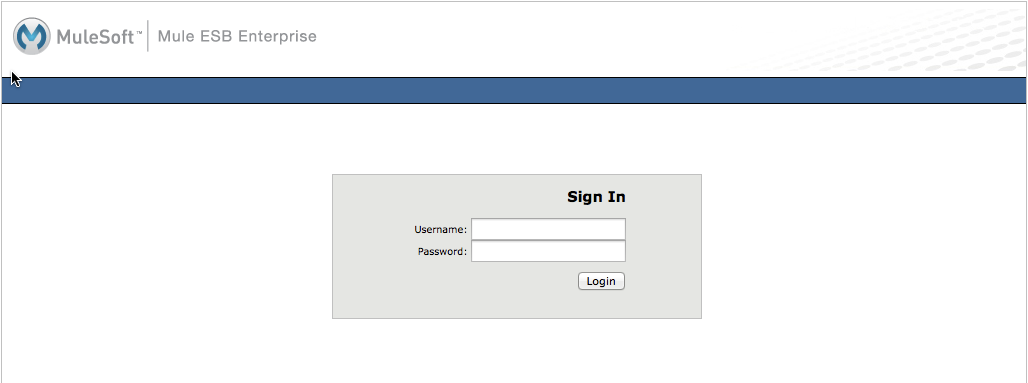
You are greeted by the MMC welcome screen, shown below. Log in with username
admin, passwordadmin.
To stop Mule, run the shutdown.sh script (or shutdown.bat if on Windows) from the root folder of your installation.
Mule EE or CE Runtime
The steps below describe what you need to do to install and run Mule ESB, the same steps apply for both the Community runtime and the Enterprise runtime.
-
Install Java SE Development Kit 7.
-
Download and unzip Mule ESB Enterprise.
-
Start Mule from a command line by changing directory to where you unzipped the Mule software distribution and then changing to the
bindirectory. Type the./mulecommand for Mac or Linux, or typemule.batfor Windows.Wait for Mule to start running, which may take a minute or two.
-
To stop Mule, type CTRL-C.


