Install and Use Tcat Server
| Tcat Server reached its End of Life in 2017. Contact your Customer Success Manager to determine options for managing, monitoring, or deploying your application. |
Use these instructions to install Tcat Server on one or more machines, and to get started managing, monitoring, and deploying your applications.
|
For additional information and more detailed installation documentation, please see:
You can send comments or questions to: tcat-install@mulesoft.com |
Install Tcat Server on One Machine
This process explains how to install the Tcat Server and the Tcat Administration Console on one machine, then use the Console to manage the Server and deploy a new application.
Before You Begin
To run Tcat Server, you need a working installation of the correct version of Java. You have two ways to achieve this – either use a pre-existing installation of Java, or you may select a Tcat Server installer download that contains a bundled Java Runtime Environment (JRE). This second option is only available for some operating systems.
In either of these cases, you need to read this section to determine system requirements.
Obtain Installer
Download the Tcat Server installer for Windows (.exe), Linux/Unix/Solaris (.sh), and MacOS (.dmg) from the Tcat download site.
Step One: Run the Installer
Select Standard Install, and accept all defaults
| Windows | Linux | Solaris | OS X |
|---|---|---|---|
installer.exe |
installer.sh |
installer.sh |
installer.dmg |
Step Two: Start Tcat server
Use the commands listed below to start Tcat Server.
| Windows | Linux | Solaris | OS X |
|---|---|---|---|
tcat6.bat OR start menu |
svcadm enable tcat6 |
Step Three: Log on to the Tcat Server Console
-
After a minute or two, open a Web browser to the following address:
http://localhost:8080/console -
Log in using "admin" for both username and password.
-
The Tcat Server console appears, with the Servers tab selected by default.
Step Four: Register the Server with the Console
-
In the left panel, click Unregistered
-
The local Tcat server instance appears to the right
-
Click the checkbox next to Server Name
-
Click Register
-
The local server instance now appears in the All group with a green status indicator
Step Five: Manage the Tcat Instance
-
Click the All list in the left panel
-
Click on Server Name
-
The Server Details panel appears
-
Click through the tabs to view the information and operations available
Step Six: Add a New Application
-
Click the Deployments tab
-
Click New Package at top right
-
Click Upload New Application
-
Browse to local file system to select a .war file
-
Click Add, and enter Package Name

-
Click in the Space to the top right, and select the server name
-
Click Save and Deploy at bottom right
-
Select Deployed from left panel
-
The new package appears under Applications to the left, with the server to the right
-
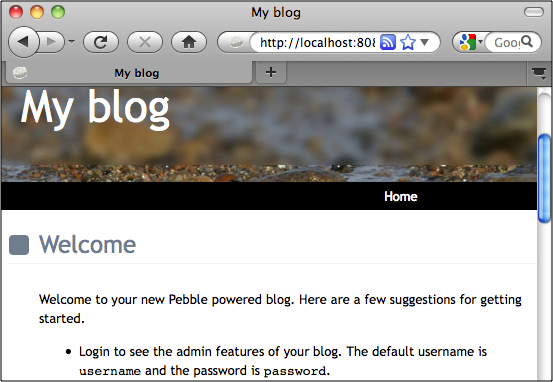
Verify your application works by navigating to it in a browser
Install Tcat Server on Multiple Machines
This process explains how to install the Tcat Server and the Tcat Administration Console on one machine, to install only the Tcat Server on another machine, and then use the Administration Console to manage servers and applications on both Tcat Server instances.
| NOTE: If you are connected to your network via VPN, you should disconnect before you continue. Otherwise, the Tcat Server instances may not be automatically detected.] |
Step Two: Install Tcat Server without Console
-
Run the installer again on the other machine(s), selecting Custom Installation.
-
De-select Administration Console
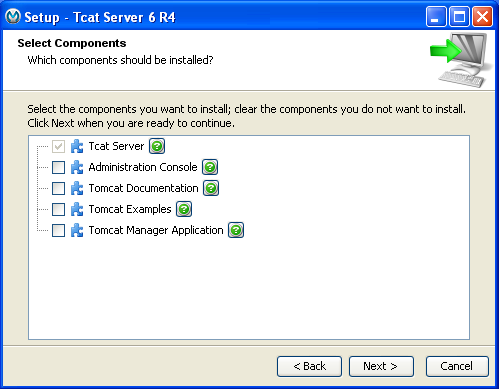
-
Start the server
Step Three: Pair the New Tcat Server with the Administration Console
-
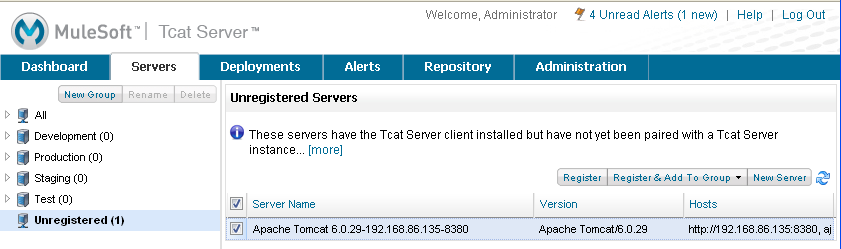
In the Administration Console of the first server installed, click on the Servers tab
-
The newly installed instance appears in the Unregistered group
-
Click the checkbox next to Server Name
-
Click Register
-
The local server instance now appears in the All group with a green status indicator
Step Four: Add Servers to Group
-
From the Servers tab in the Administration Console, click New Group
-
Enter "Beta" and click OK
-
From the list of all servers which is displayed, select both server instances
-
Click Add to Group, and select the Beta group from the dropmenu
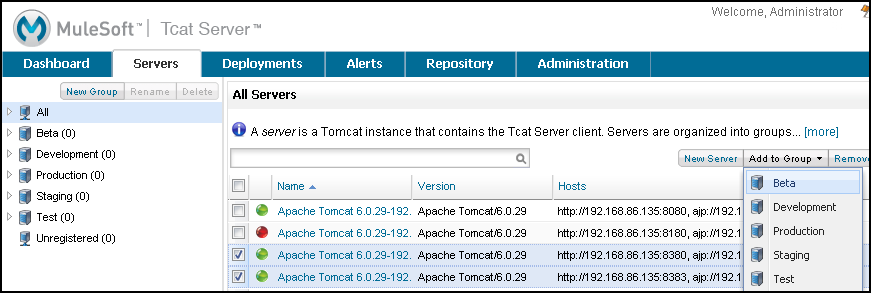
-
Confirm your selection
-
Both instances appear in the Beta group