The Studio Interface
The Studio IDE serves as the all-purpose interface for Mule ESB. Within the Studio environment, you can model, develop, configure, test, debug, and deploy your Mule applications. Studio provides a pair of editing options:
-
You can write code the traditional way with Studio’s XML editor, which has been enhanced by an nifty, automatic code-completion feature
+ -
You can let Studio write XML code for you by arranging Mule building blocks on a graphical "canvas," then configuring each building block through convenient text entry boxes or drop down menus. Studio guides you through this process by providing:
-
context-sensitive help balloons that pop up whenever you hover over a configuration field
-
drop-down menus that list only valid options for the field you are configuring
-
This page introduces the major elements of the Studio application window. For details on using specific features of the Studio interface, please consult:
About the Studio Interface
The application window displays the Studio application menu, toolbars, and project information displayed in various formats. You can customize this default view to match your preferences.
The screenshot and table that follow introduce the default layout of key interface elements:
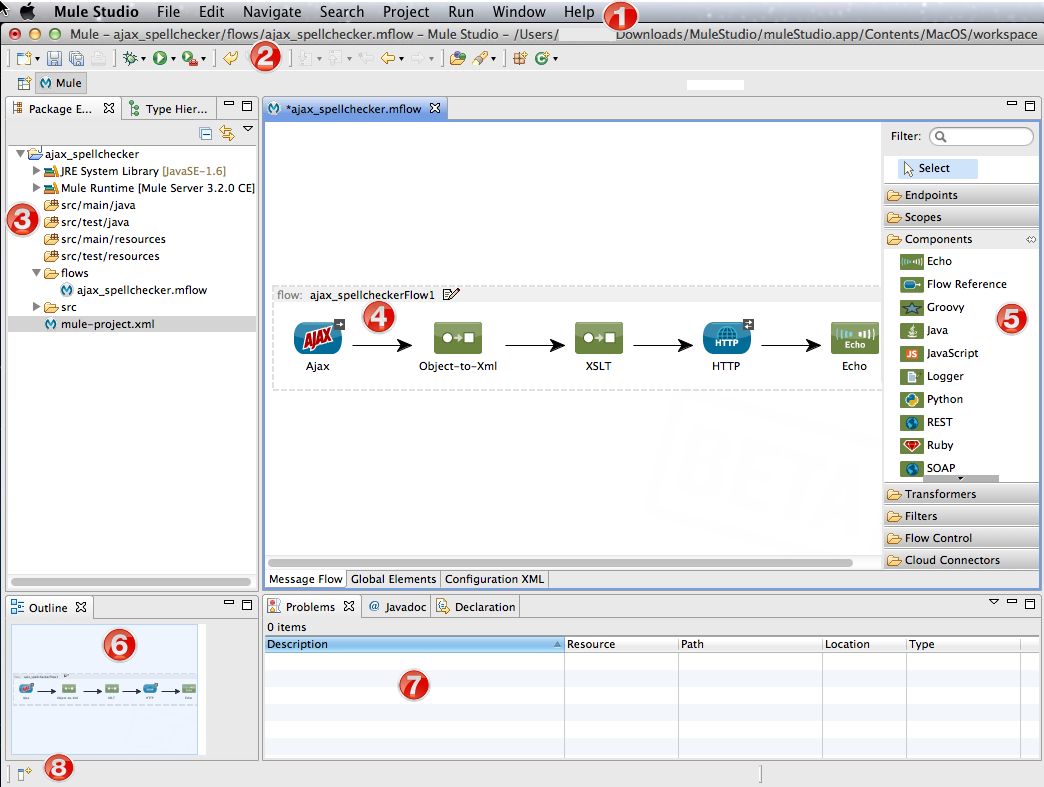
Default Interface Elements
| Interface Element | Description | |
|---|---|---|
❶ |
Menu |
Provides traditional menu access to Studio features. |
❷ |
Toolbar |
Displays icons that launch various actions ranging from printing to searching to debugging. |
❸ |
Package Explorer |
Displays project folders and files in a tree format. One section lists graphical-display files (.mflow), while another lists the files (.xml) that record Mule Flow details in code form. The Type Heirarchy tab provides an alternative view of project components. |
❹ |
Canvas |
The large area at the center of the Studio application window is known as "the canvas." It can display three different views, depending on which tab you select from the bar immediately below the canvas. |
❺ |
Palette |
Displays icons representing the drag-and-drop building blocks that can be arranged on the Canvas as Mule Flow components. The seven categories of building blocks include:
|
❻ |
Outline |
Provides a miniaturized overview of the Canvas along with a box cursor that scrolls the display in the Canvas pane. |
❼ |
Console |
This area displays a list of events and problems (if any) that Studio reports as you create or run your Mule application. The JavaDoc and Declarations tabs display additional categories of information related to your code. |
❽ |
Fast View |
Holds icons that facilitate popup display of various Studio views, such as the project task list and search results. |
Typical Interface Usage Patterns
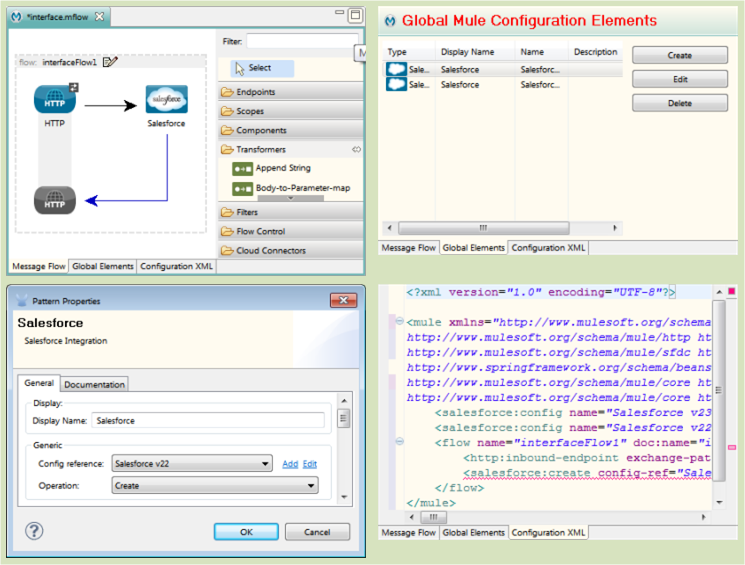
You create a Mule application by arranging building blocks to form a flow on the Message Flow canvas. This does not require XML code input.
Next, you configure each building block by opening its Properties pane and entering values through drop down lists or text-entry fields. Once again, no XML coding is necessary. You can pop up on-line help for each field and and also launch a complete, searchable Help system in an auxiliary pane.
Finally, use your mouse to launch your new Mule application from within Studio.
That’s all there is to it! Every step of the development process - from application creation to configuration to packaging to testing, and even debugging - takes place within the Studio environment.
Additional Information
For a discussion of key Mule concepts and terminology, including flow architecture, see: Mule Studio Essentials
For more on the various components of the Studio interface, see:
If you have questions about Mule or Studio, please take a look at our FAQ page.